-
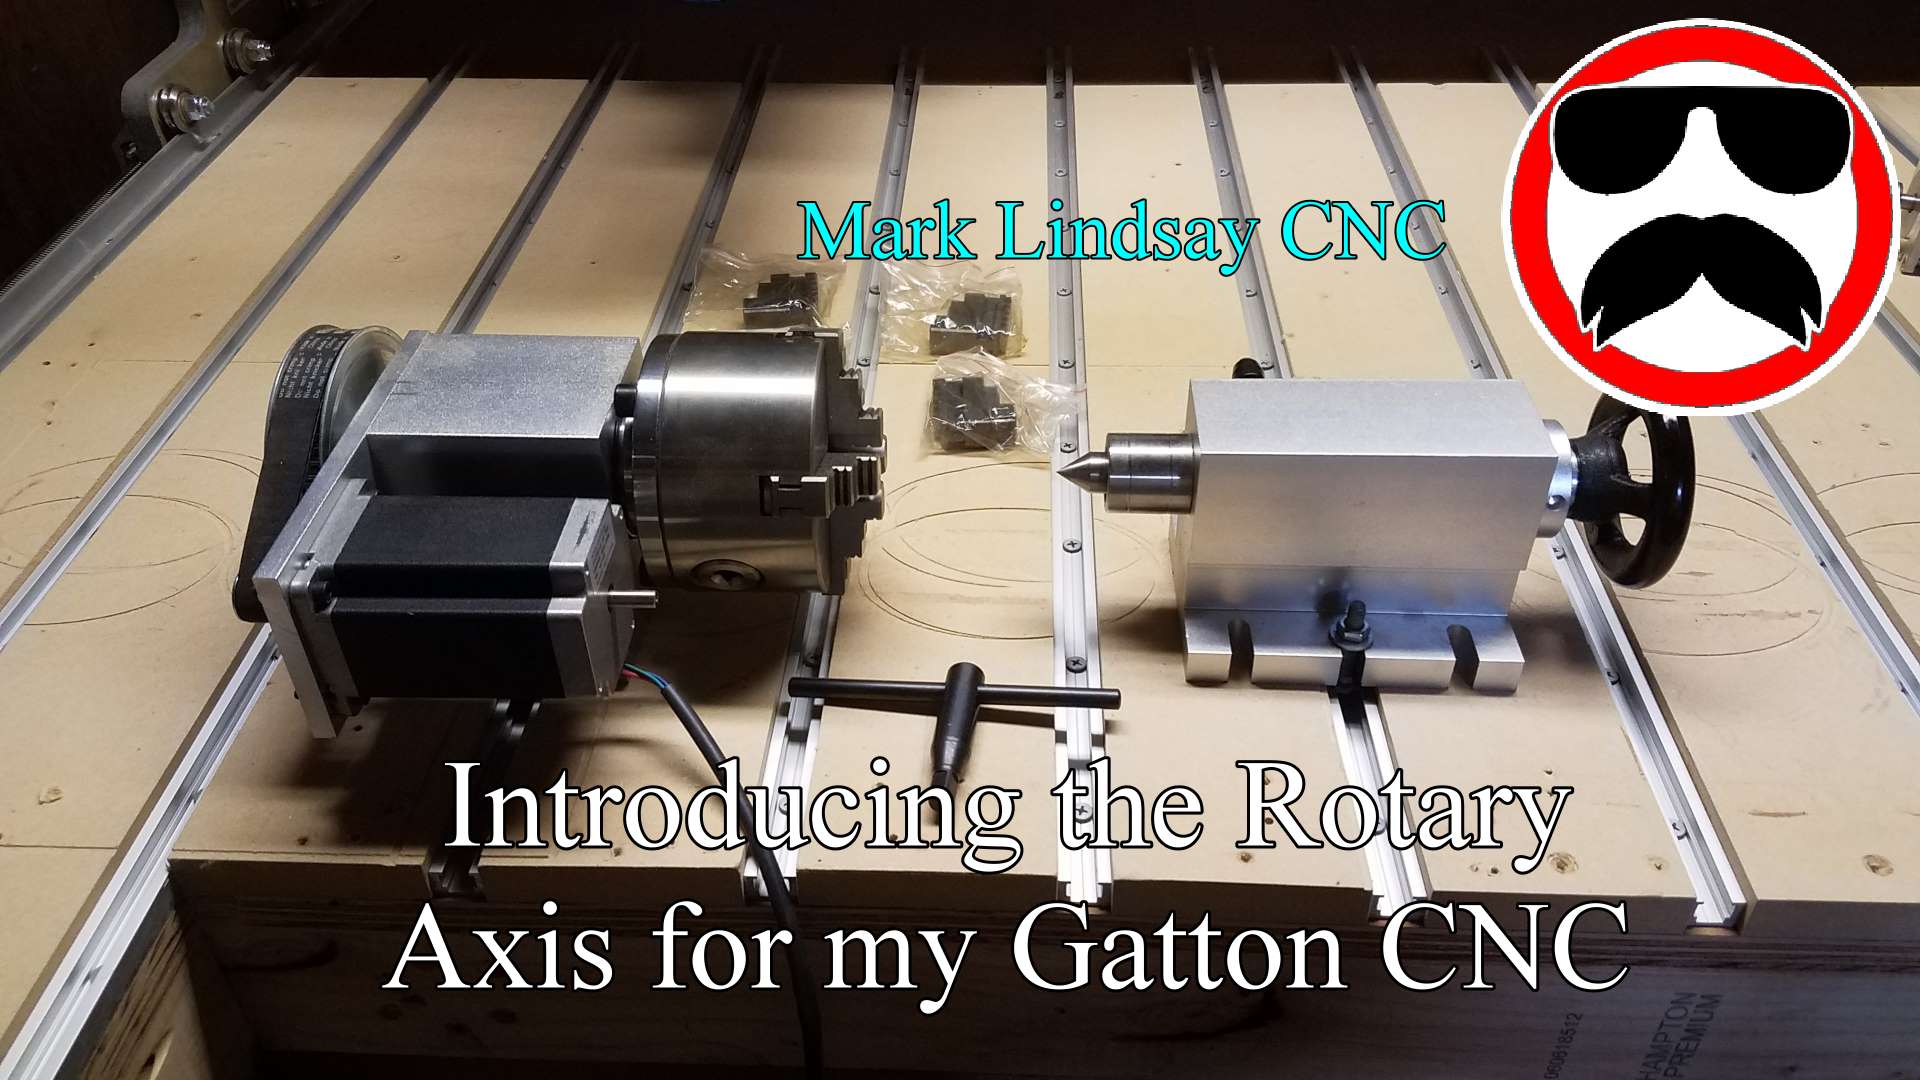
Introducing the Rotary Axis for my Gatton CNC
I’ve wanted to add a rotary axis to my CNC since I built my first Shoestring Budget CNC back in 2015, but they were just too pricey. I looked into a couple of options for a home-built unit, but never found one that I really liked. I downloaded a few sets of free plans, and eventually bought the plans being offered by Dave Gatton, here on his website. I got Dave’s plans and started looking into them, getting more and more excited as I did so. I even went ahead and bought a Xylotex stepper motor to use in the build. Then I immediately got slammed with work, and it…
-
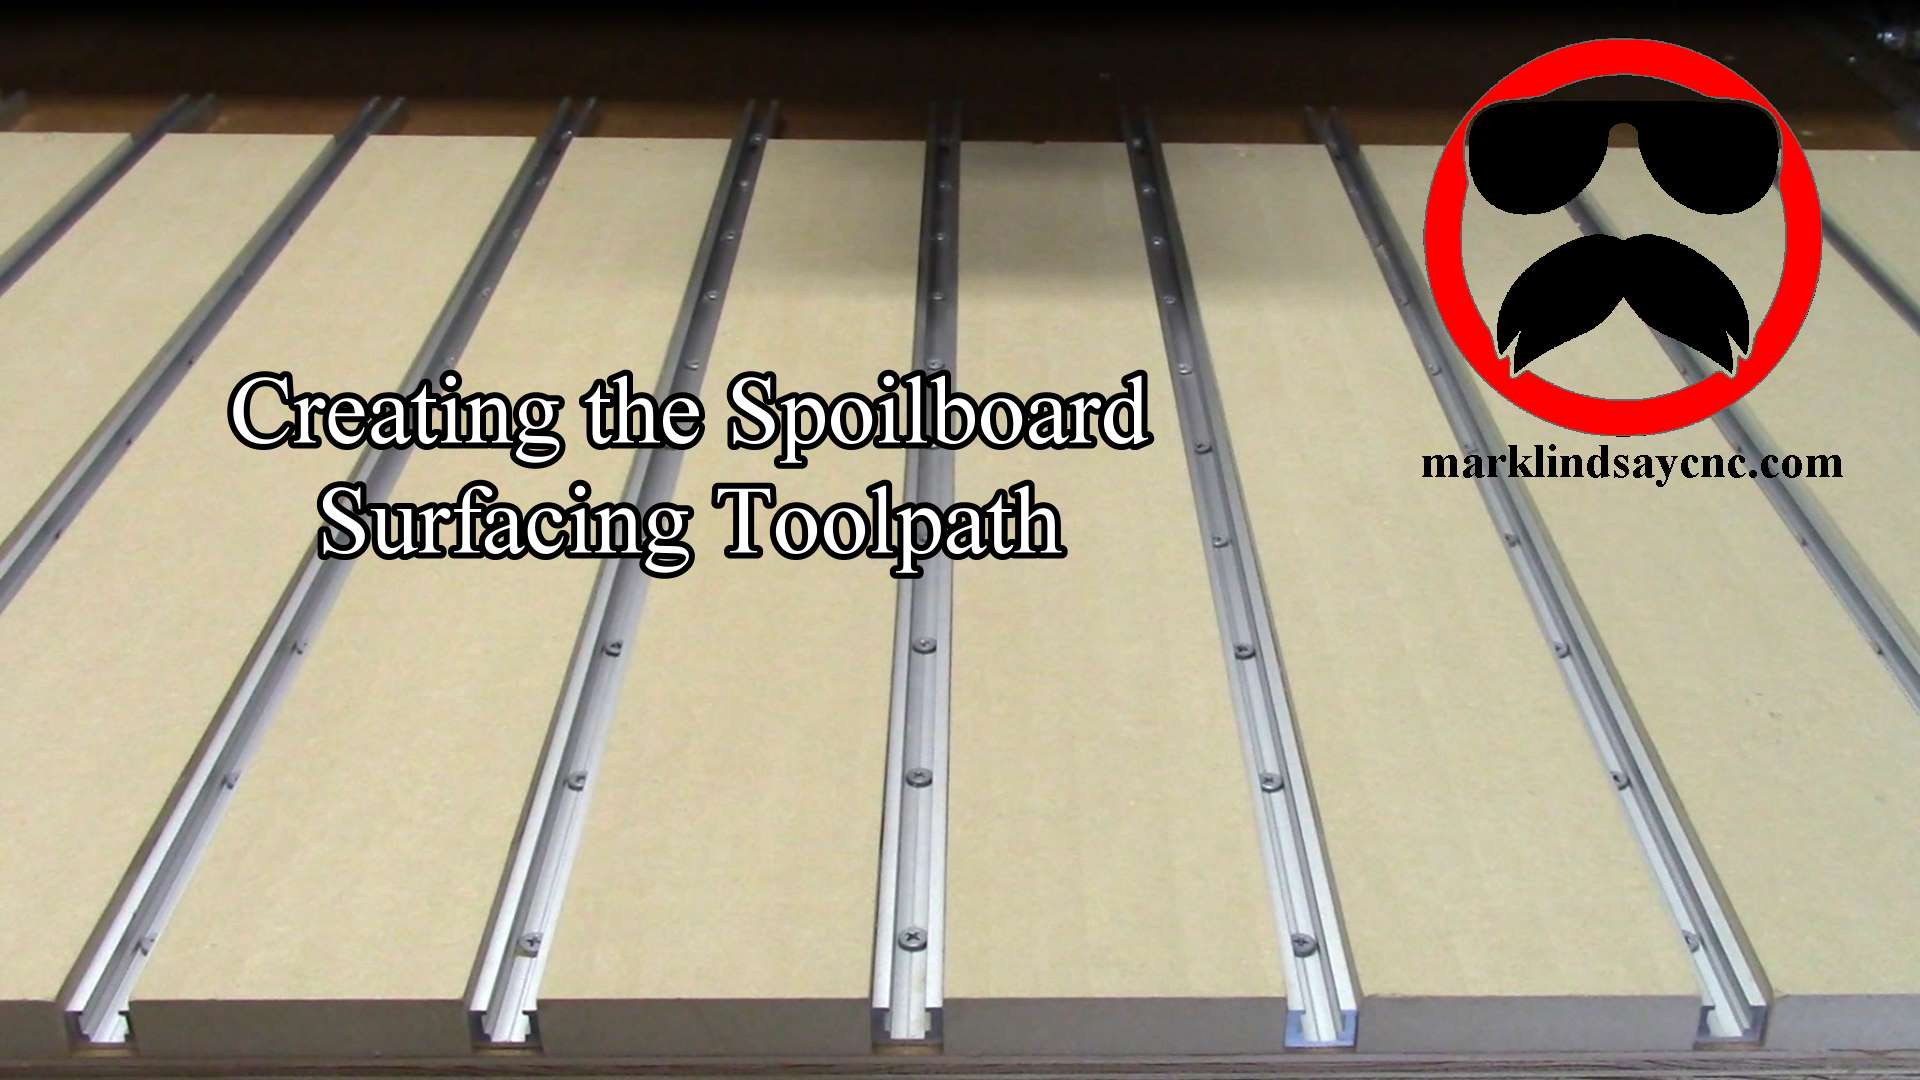
Creating a Spoilboard Surfacing Toolpath in VCarve
Surfacing a spoilboard is the final necessary step, after laying one down on the CNC table. Creating the surfacing toolpath sounds intimidating, but it’s actually pretty simple. You just have to remember a couple of things. [expand title=”Read More”] Why Surface a Spoilboard? The simple answer is that we surface the spoilboard to make sure that it’s flat and smooth. Material to be cut on the CNC is mounted to the spoilboard. We want that material to be as flat as possible to ensure smooth cuts of equal depth along every part of its surface. This is especially important when it comes to v-carving or engraving. If the work piece…
-
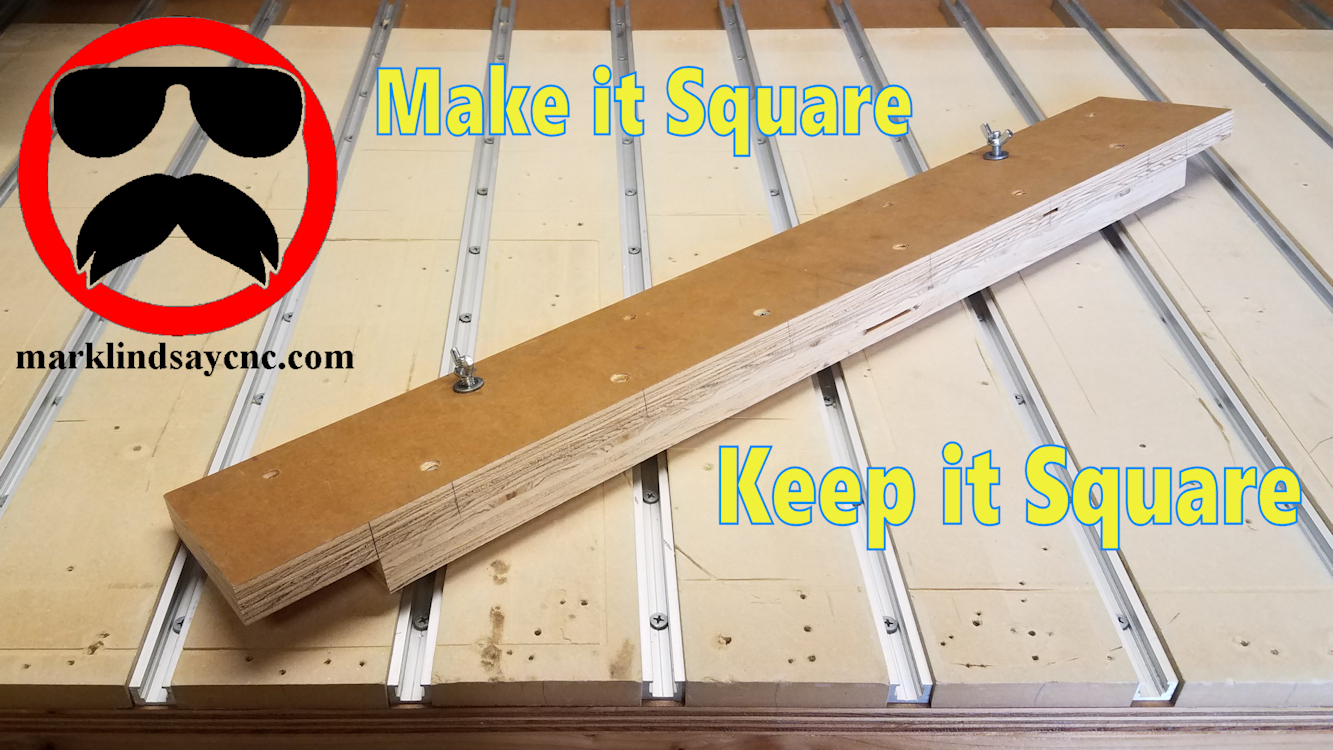
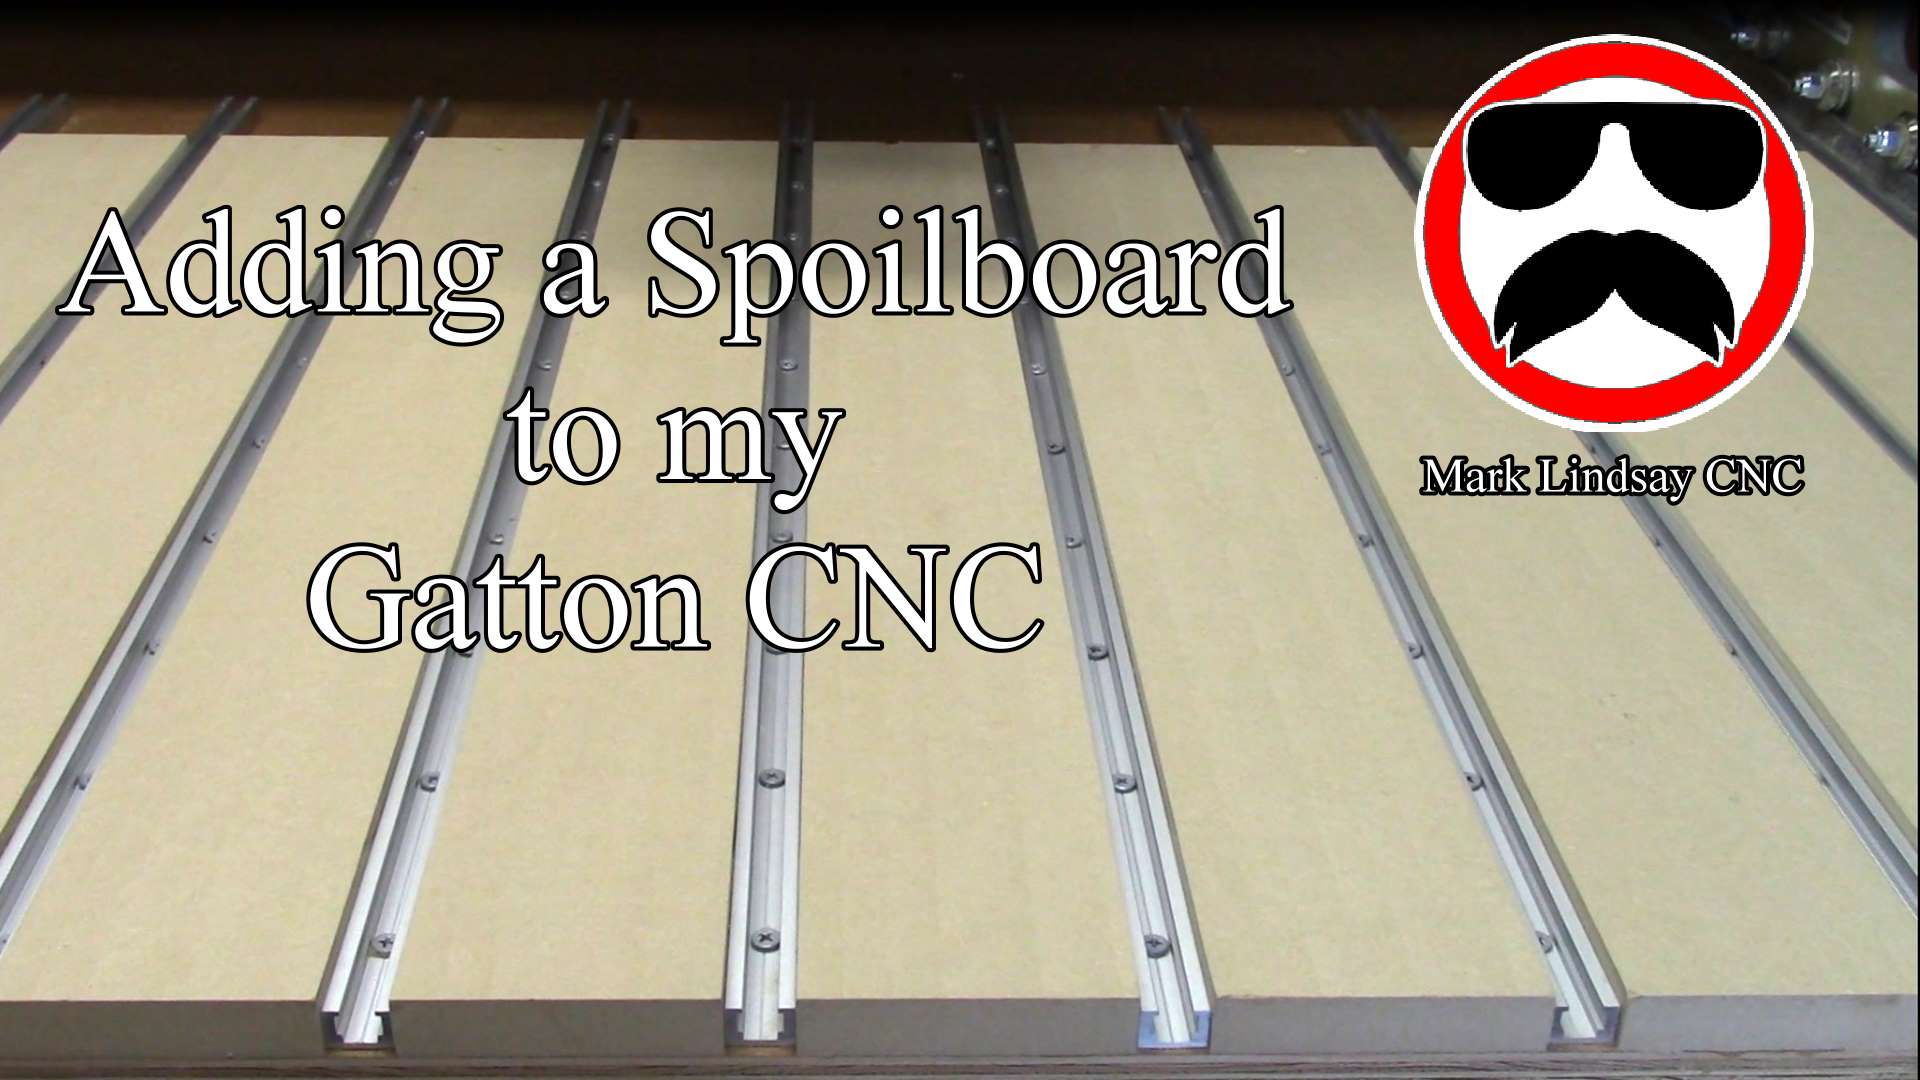
Adding a Spoilboard to my Gatton CNC
One of the final steps I needed to take before putting my Gatton CNC into service was laying down a spoilboard. [expand title=”Read More”] What is a Spoilboard? A spoilboard is a sacrificial piece of material that’s mounted to the table. Material to be cut on the CNC is mounted to the spoilboard, rather than to the table itself, in order to keep from cutting into the table. A spoilboard can be as simple or as complex as you want to make it. It can be as simple as a sheet of material clamped or screwed down to the CNC table. It can be made more complex by adding t-track,…
-
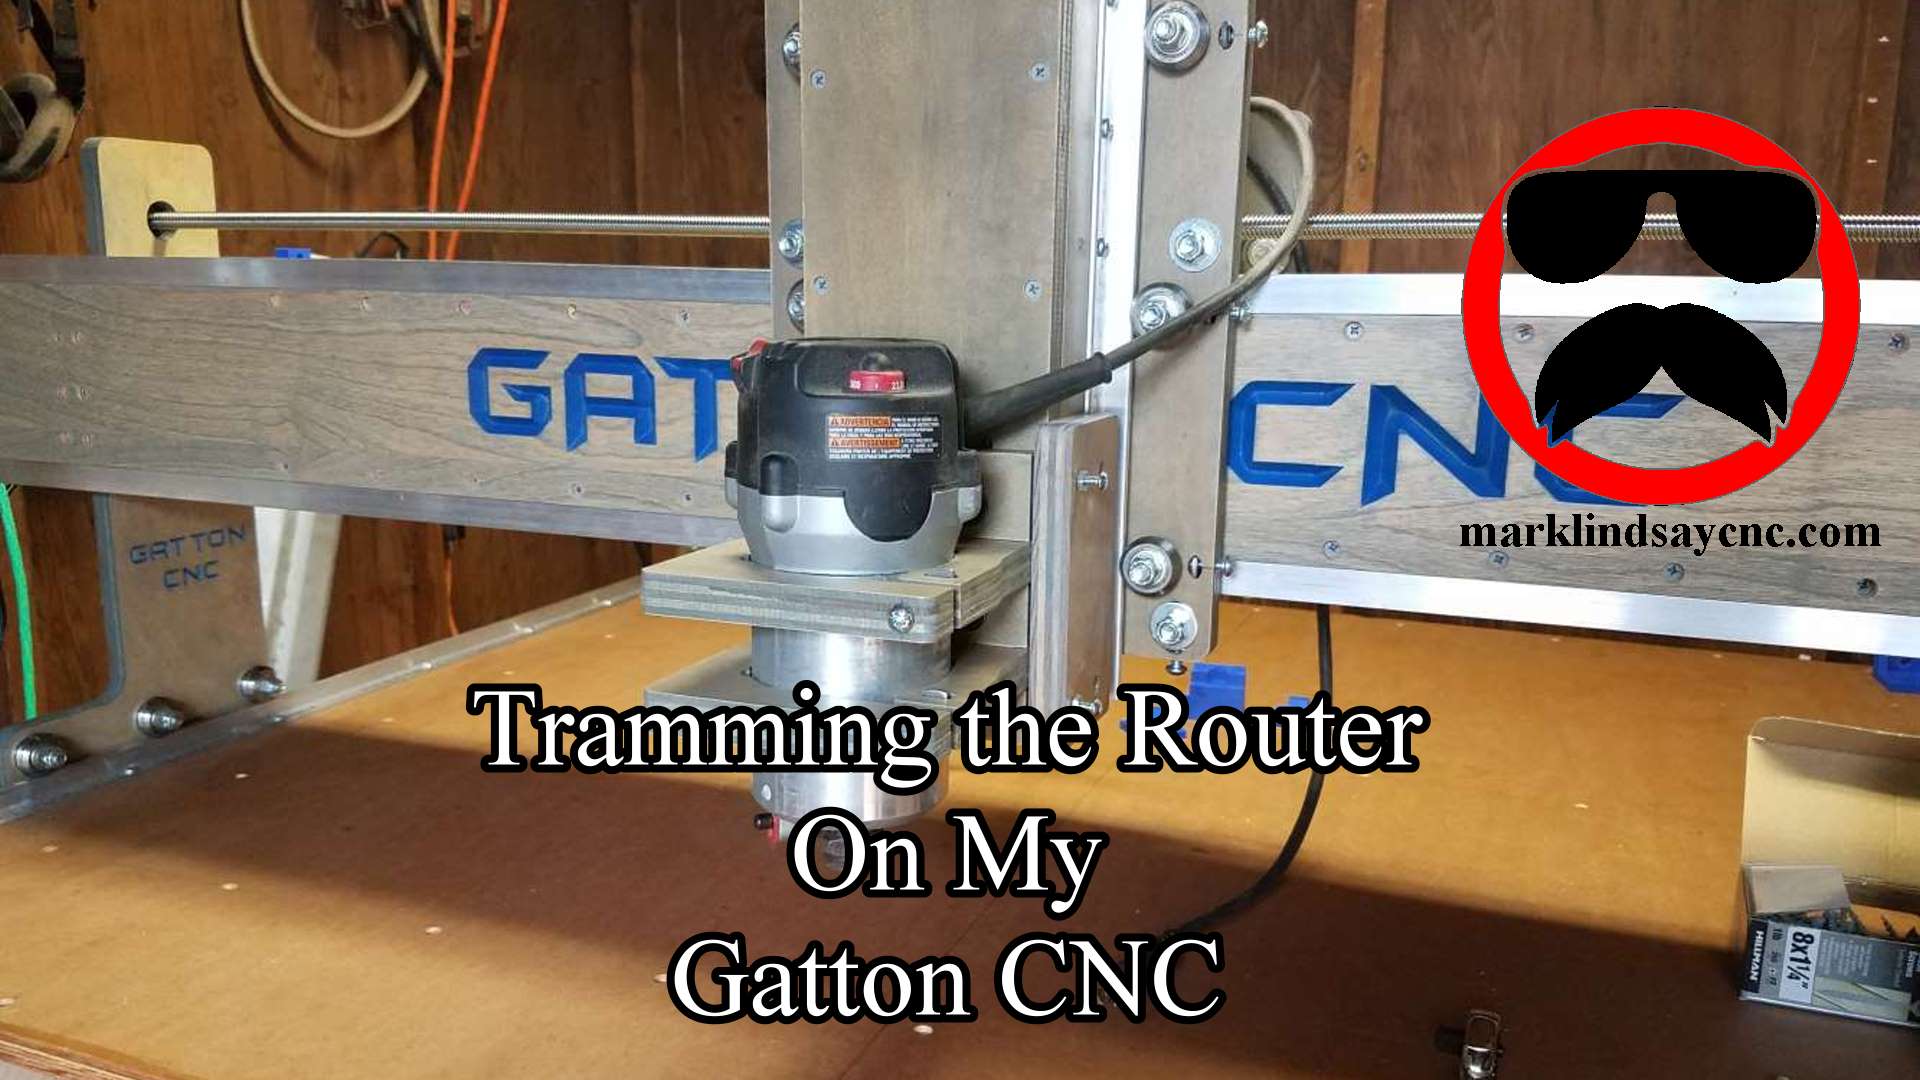
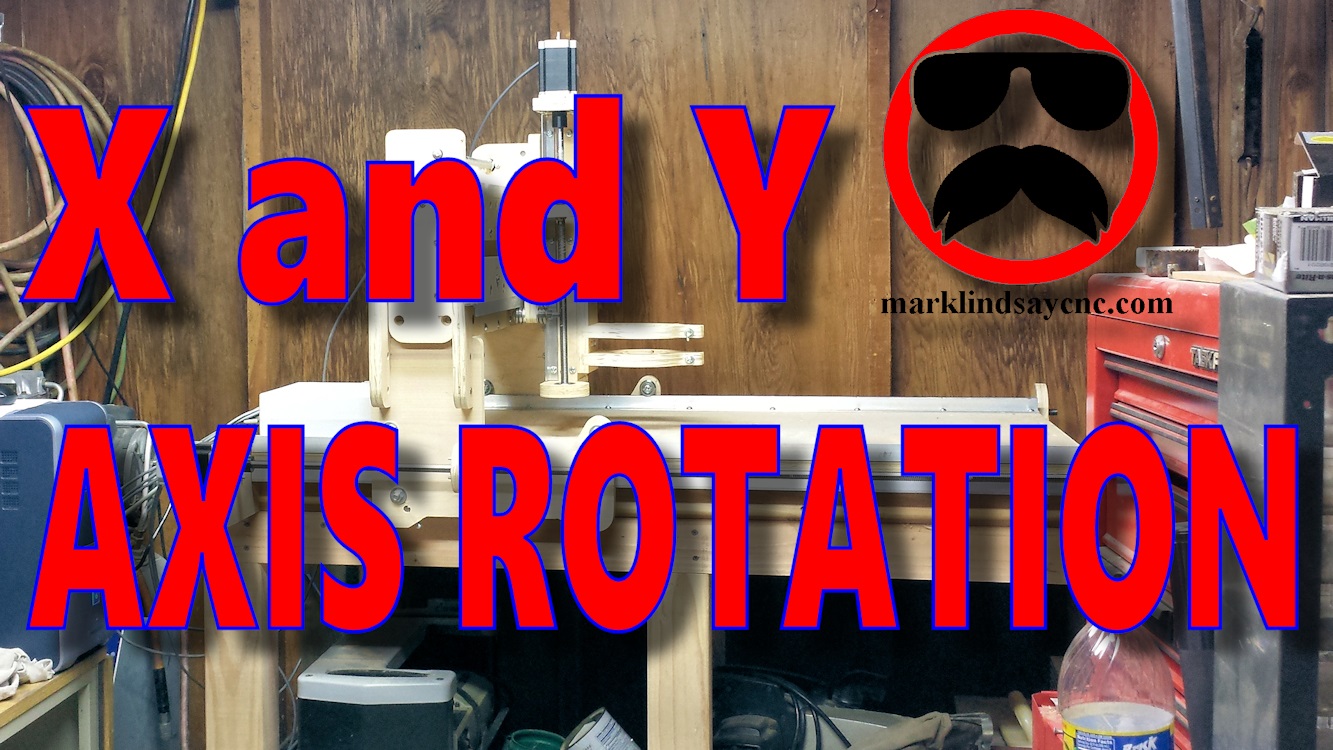
Tramming the Router on my Gatton CNC
What Is Tramming and Why Would You Do It? Tramming the router means adjusting the router mount to get the router as close to perfectly perpendicular to the spoilboard in the X and Y direction as possible. A router that’s not adjusted properly will cut deeper on one edge than it does on the other, leaving ridges and grooves on flat surfaces. This phenomenon is less noticeable when using smaller diameter bits. When you get into using larger diameter bits, however, it can become very apparent. [expand title=”Read More”] In the picture below, you can see an exaggerated demonstration of what I’m talking about. The bit on the left is…
-
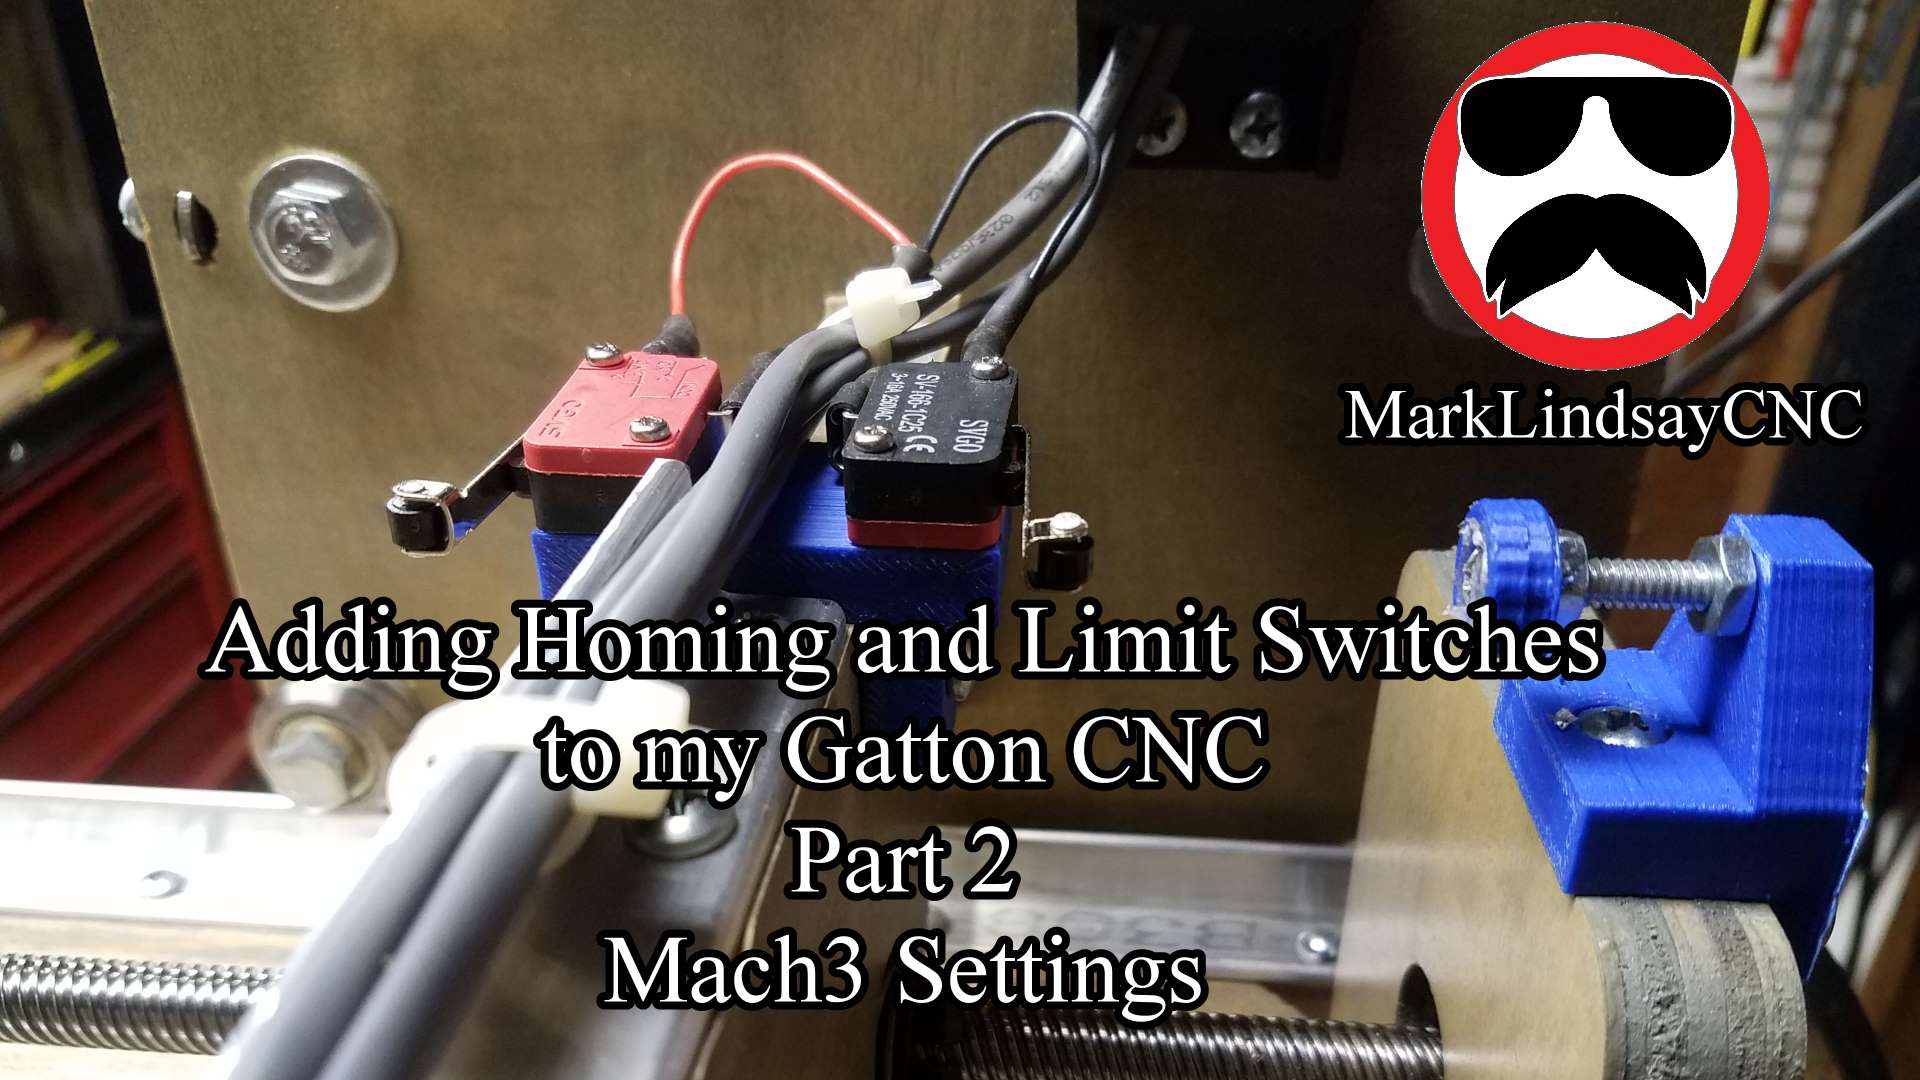
Adding Homing and Limit Switches to My Gatton CNC
Adding homing and limit switches to my Gatton CNC wasn’t as difficult as I thought it would be, but there are some things to watch out for. [expand title=”Read More”] Let me explain the sentence above. I’m not an electronics person – I’m a wood guy. My interests run toward the mechanical – not the electronic. It’s not that I don’t think I could learn electronics. I just don’t have any desire to learn it. That’s worked to my disadvantage a few times, and it’s been a limiting factor on occasion, but I’m fine with that. I’m not a total dunce to all things electrical or electronic. I can run wire…
-
Gatton CNC Build Part 10 – Router Mount and Tramming Plates