I’ve wanted to add a rotary axis to my CNC since I built my first Shoestring Budget CNC back in 2015, but they were just too pricey. I looked into a couple of options for a home-built unit, but never found one that I really liked. I downloaded a few sets of free plans, and eventually bought the plans being offered by Dave Gatton, here on his website.
I got Dave’s plans and started looking into them, getting more and more excited as I did so. I even went ahead and bought a Xylotex stepper motor to use in the build. Then I immediately got slammed with work, and it had to go on the back burner. When I started my Gatton CNC build back in June of 2017, the rotary axis project got pushed even further back. Finally, in December of 2017, with my Gatton CNC build finished, I decided that I had waited long enough, and that I was going to have a rotary axis for my CNC by the end of 2018.
The Search
The problem was that by the time I got back into the plans to build the Gatton Rotary Axis, prices had gone up quite a bit. As I started adding up the cost of all the parts, I wondered if I had waited too long to get going on it. I then decided to price a few rotary axis kits being offered online and do some comparison shopping. I was surprised by what I found.
I found complete kits ranging from $150 to $375. Some of those kits came with a tailstock, and others did not. I did a little bit of looking around, comparing the pros and cons of each kit I was looking at, and decided that I would purchase a rotary axis kit, rather than build one. My thinking was that the major part of the building was done for me, for the same amount of money (or less in some cases,) as a pre-assembled kit. Also, by this time, I was getting a little tired of building CNCs, and wanted to focus on actually USING the CNC I had worked so hard to build.
With that decision made, I then set out to choose a rotary axis that would work with my Xylotex drive box. That proved to be harder than I thought it would be. You see, the Xylotex drive box I have is a 4.0 amp system. The only rotary axis kits I could find were 3.0 or 3.5 amp kits. Now I’m not an electronics guy. My electronic knowledge is rudimentary at best – downright barbaric at worst. I do know enough to try to match a motor’s voltage and amperage to that of the power supply, however. I just wondered if one of the 3.5 amp motors could be used with the 4.0 amp Xylotex drive box.
I emailed Jeff at Xylotex, and asked him if one of these motors would work with the drive box (I sent him the spec sheet on the motor in that email.) He warned me that while the motor would physically turn, it would tend to shudder, stutter, and jump as it did. It would also tend to overheat in a short amount of time. He recommended that I didn’t use it, but rather to swap it out for one of the Xylotex motors. (I had reminded him in my initial email that I already had a spare Xylotex motor, which I had purchased to build a rotary axis with, so there was no opportunity for another sale here – he knew I had the spare motor on hand. I have dealt with Jeff many times in the past, and I just don’t think he’s the type to tell someone a flat-out lie for a $40 sale.)
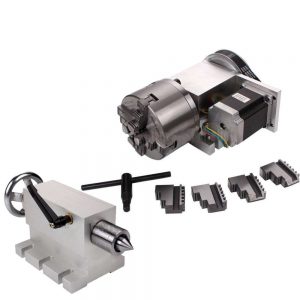
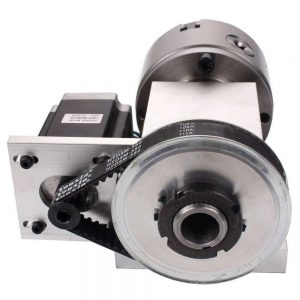
So, I finally decided on which rotary axis I wanted, then ordered it. I chose this Sunwin CNC hollow shaft rotary axis with100mm 4-jaw Chuck and 65mm tailstock through Amazon.com.

I chose this kit for two major reasons. First, when I ordered this kit, they were offering free shipping. Second was Amazon’s return policy. I knew that if I received a defective unit, I’d have an easier time returning or exchanging it through Amazon than I would through someone on eBay or Ali-Express. I did find several other rotary axis kits that were less expensive, but those two factors were what decided it for me. For example, I found a solid shaft rotary axis kit, without the tail stock, that was $150. However, reading the fine print, the shipping from China to the US was $195! More than the cost of the unit! And I’d still need to buy a tailstock! The Sunwin kit was only $24 more, and had the tailstock, plus the hollow shaft. I decided to go with that unit.

I received the kit about 10 days after ordering it, and was chuffed to bits when I got the boxes open. I got the Sunwin motor off with no problem. I got the Xylotex motor mounted with no problem. I took the timing belt pulley off the Sunwin motor with no problem. I went to put it on the Xylotex motor, and had a problem.
The Parts Chase
The motor shaft on the Xylotex motor is 1/4” diameter. The motor shaft, and therefore the bore on the pulley, is 8mm. Yup – that’s too big. If I were a machinist with a metal lathe, I could have made a sleeve to adapt the Sunwin pulley to the Xylotex motor. Well, I’m not a machinist, and I don’t have a metal lathe. So, I went online and searched for the proper pulley to fit the belt and my stepper motor.
It was harder to find than I thought it would be. I checked all of the usual websites (McMaster-Carr, etc…,) but came up empty. I finally found it on Ali-Express, here.
A word of warning here. If you ever need to order something from China, make certain it can be shipped before February 1st. Most of the manufacturing in China closes down for 2-3 weeks for the Chinese New Year celebration. I didn’t know that, and ordered my pulley on February 7th. It shipped Feb 28th, and I received it March 9th.
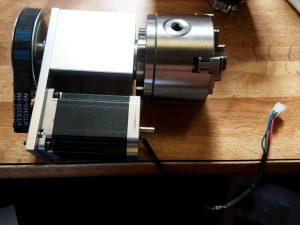
With the timing pulley finally in hand, I was excited again. It fit the Xylotex motor perfectly, and tightened securely. Then I ran into a second problem. See, the Xylotex motor is not only higher amperage, it’s also physically longer than the Sunwin motor – by about 1/2”. That put the end of the motor right in line to interfere with the bolts that mount to eh chuck to the faceplate. Awwwww, crumb… I needed a longer timing belt.
Thankfully, I didn’t need a much longer belt. I got online (again) looked for 15mm wide high torque timing belts with a 5mm pitch, and found them in short order. I decided to order 2 different sizes. I ordered one that was 5mm bigger, and one 10mm bigger. I know my luck – if I had ordered the 5mm longer belt, it would have been too short. If I had ordered the 10mm longer belt, it would have been too big. I ordered both, and that basically confounded the CNC gods enough that the 5mm longer belt fit perfectly. With all of the parts finally in one place, I assembled everything perfectly, and got it ready to take outside to test it.

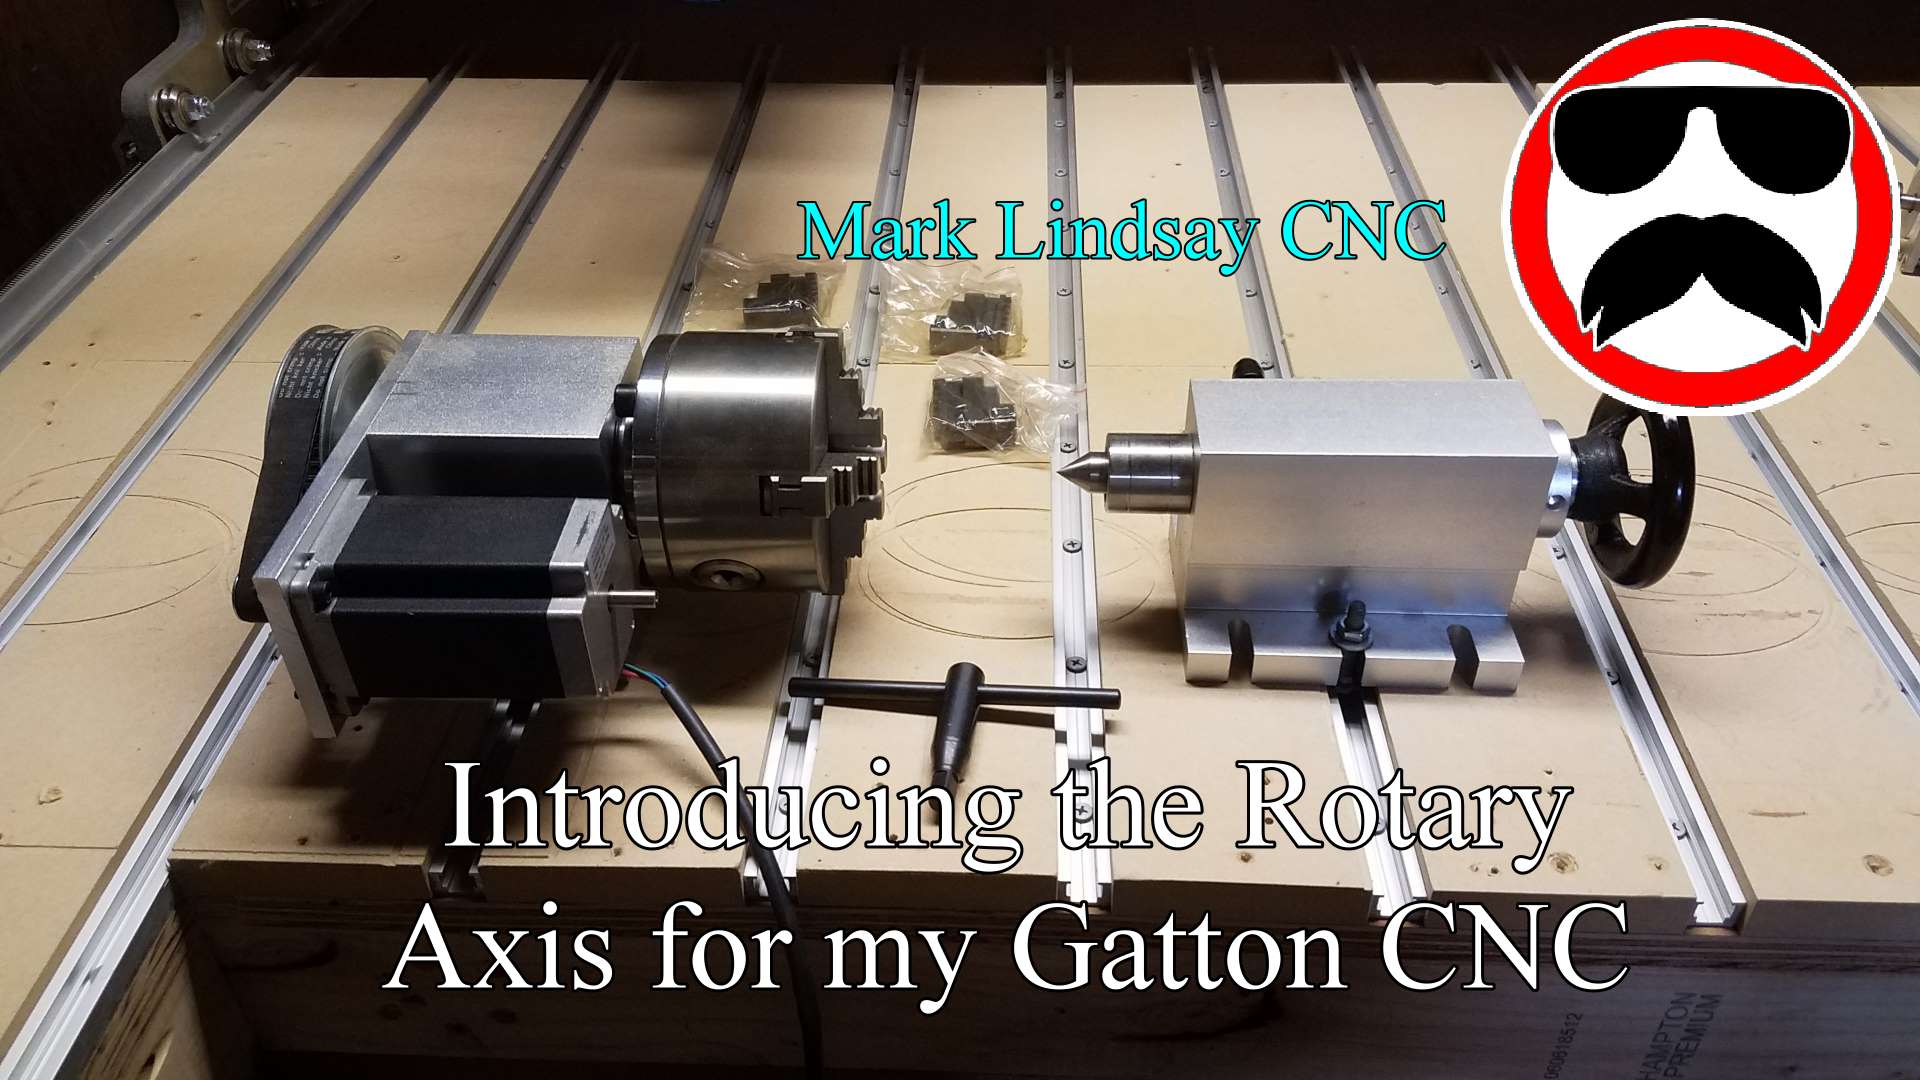
Well, actually, I did have to do one last thing to the headstock, but… well… This article is getting pretty long. Check out the YouTube video I posted below, and you’ll get all of the details.
The Bottom Line
So, in summing up, yes I now have a rotary axis for my Gatton CNC. So far, yes, I do like it. Would I do it again? Well, knowing now what I didn’t know then, yes I would. I would time things a little differently, but yes I would.
Here’s a list of all of the parts I bought to get a rotary axis for my Gatton CNC, with links so you can check them out.
Sunwin Hollow Shaft Rotary Axis
POWGE 10 Teeth HTD 5M Synchronous Pulley
(Make sure to select 6.35mm bore diameter, for 15mm wide pulley, and choose the number of pieces you want.)
(Be sure to select 15mm belt width and 355mm belt length.)
In my next article and video, I’ll get into Mach3, and show you how I created a new rotary axis profile, and what settings I used to get my rotary axis working with my Xylotex drive box.
As usual, if you have a question or comment, leave it in the comments section below. Or, if you’d prefer, go over to the Contact Us page and submit it to me there.
If you’d like more info on a Gatton CNC kit of your own, check out Dave Gatton’s home page here.
Until next time, take care and have fun! [/expand]
[amazon_link asins=‘B01H54ULSO,B000A804DA,B000ALY4E2,B000CD1T0A,B0000DCBK0,B00005QEVQ,B000C02BXW,B0002YQ3KA,B0000225XE,B019G0VVTI’ template=’ProductCarousel’ store=’malicn-20′ marketplace=’US’ link_id=’a61cfcca-ccd4-11e7-98ea-53defb9beaf6′]


