-
Vectric Software for the Absolute Beginner – Part 37
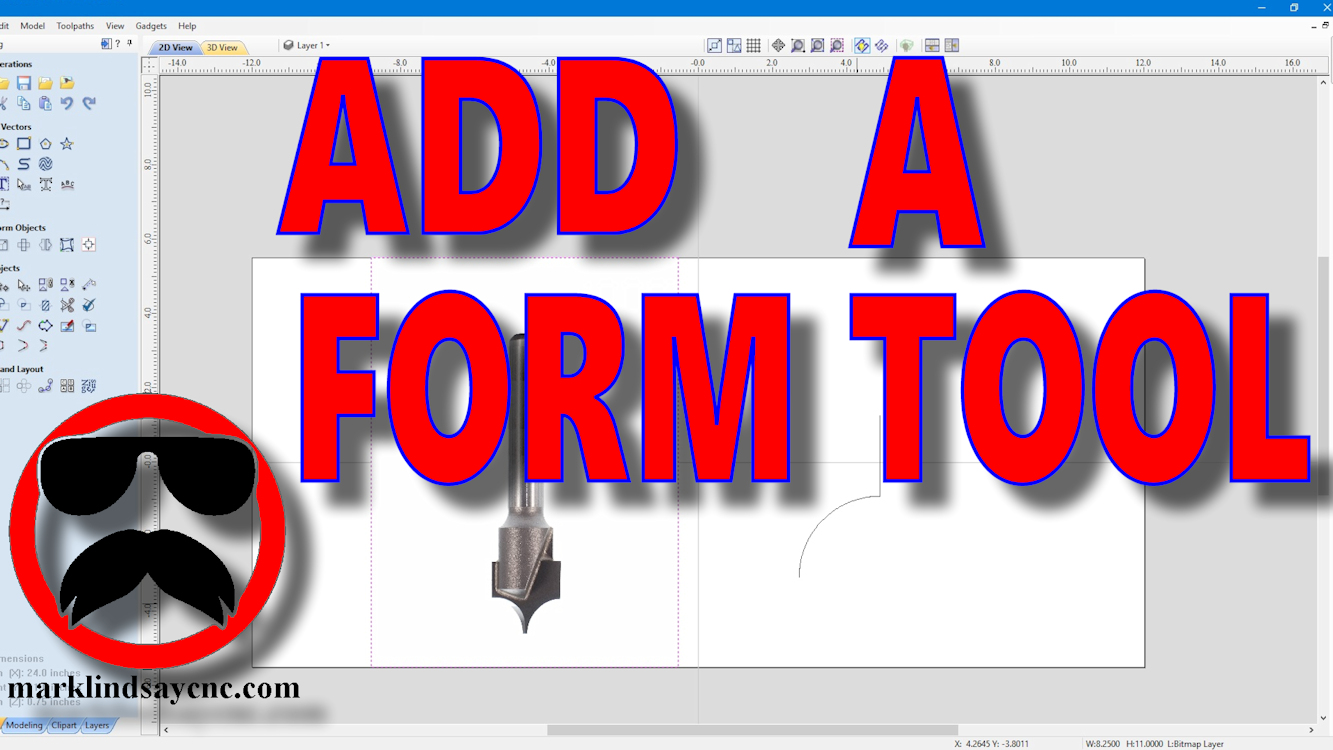
[vc_row][vc_column][vc_column_text] Part 37 – Adding a Form Tool to the Tool Database Using a Vector [/vc_column_text][/vc_column][/vc_row][vc_row][vc_column][vc_column_text]This article accompanies the thirty-seventh video in a series on my YouTube channel. If you’re not subscribed to my channel, here’s a link. Come on by and check it out. Hopefully you’ll find something you like. In the video, I’ll go through the steps involved in adding a Form tool to the Vectric Tool Database. I’ve had a project in mind for quite a while, and it will involve rounding over some edges and creating some beads in the surface of the material. I got the bit through Amazon, decided that this would be the…
-
Painting and Finishing a V-Carved Project
[vc_row][vc_column][vc_column_text] Painting and Finishing a V-Carved Project [/vc_column_text][/vc_column][/vc_row][vc_row][vc_column][vc_column_text]This article accompanies a video I posted on my YouTube channel. If you’re not subscribed to my channel, here’s a link. Come on by and check it out. Hopefully you’ll find something you like. In this video, I’ll demonstrate how I paint and finish a v-carved project. I made this sign out of cherry, and it’s one of my favorite woods. As such, we decided not to stain it, as we both like the natural color of cherry – especially as it darkens with age. After looking at a few other examples of this particular file, my wife suggested I not paint the…
-
Making My CNC Table Alignment Jig
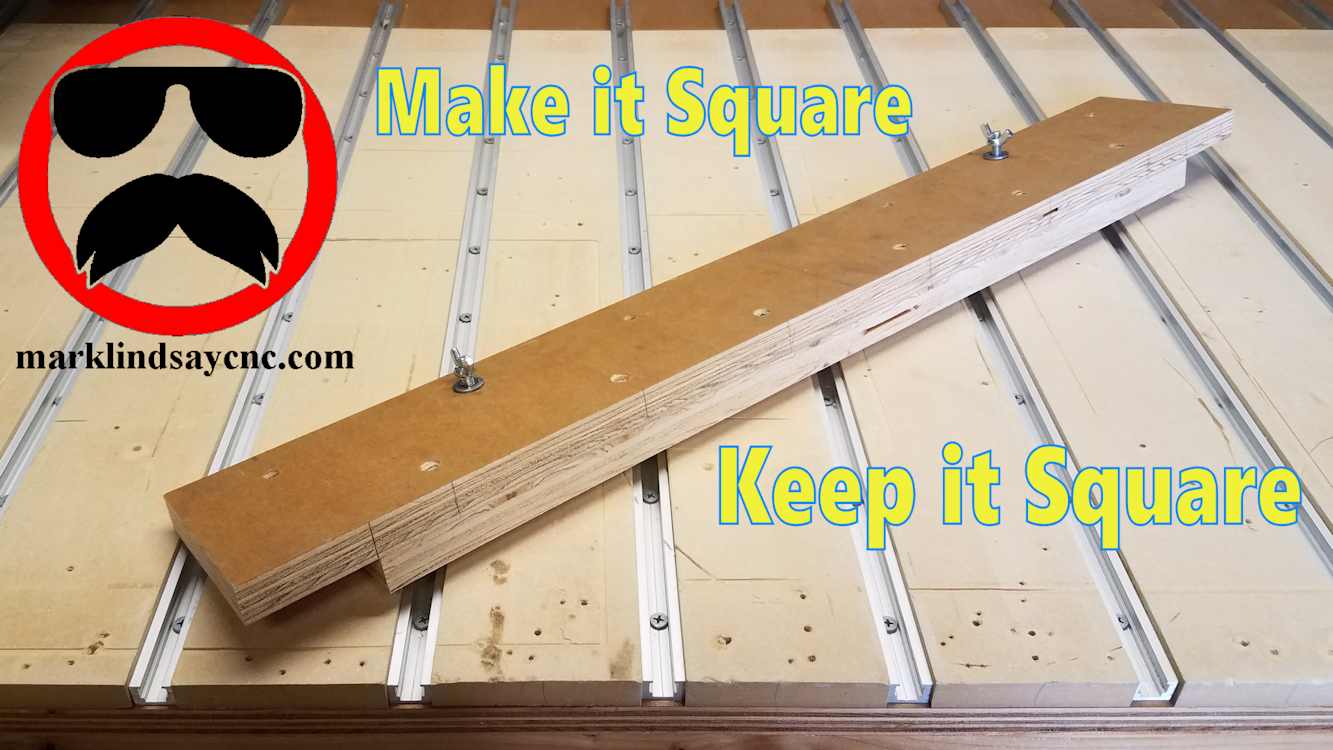
[vc_row][vc_column][/vc_column][/vc_row][vc_row][vc_column][vc_column_text]This article accompanies a video on my YouTube channel. If you’re not subscribed to my channel, here’s a link. Come on by and check it out. Hopefully you’ll find something you like. In this video, I’ll show you how I made a jig to help me align and square up materials on my CNC table.[/vc_column_text][/vc_column][/vc_row][vc_row][vc_column][vc_raw_html]JTNDc2NyaXB0JTIwYXN5bmMlMjBzcmMlM0QlMjIlMkYlMkZwYWdlYWQyLmdvb2dsZXN5bmRpY2F0aW9uLmNvbSUyRnBhZ2VhZCUyRmpzJTJGYWRzYnlnb29nbGUuanMlMjIlM0UlM0MlMkZzY3JpcHQlM0UlMEElM0NpbnMlMjBjbGFzcyUzRCUyMmFkc2J5Z29vZ2xlJTIyJTIwc3R5bGUlM0QlMjJkaXNwbGF5JTNBJTIwYmxvY2slM0IlMjB0ZXh0LWFsaWduJTNBJTIwY2VudGVyJTNCJTIyJTIwZGF0YS1hZC1sYXlvdXQlM0QlMjJpbi1hcnRpY2xlJTIyJTIwZGF0YS1hZC1mb3JtYXQlM0QlMjJmbHVpZCUyMiUyMGRhdGEtYWQtY2xpZW50JTNEJTIyY2EtcHViLTM2ODMxNTU4MjUyMjM3ODklMjIlMjBkYXRhLWFkLXNsb3QlM0QlMjIxMTk3OTIwODE1JTIyJTNFJTNDJTJGaW5zJTNFJTBBJTNDc2NyaXB0JTNFJTBBJTI4YWRzYnlnb29nbGUlMjAlM0QlMjB3aW5kb3cuYWRzYnlnb29nbGUlMjAlN0MlN0MlMjAlNUIlNUQlMjkucHVzaCUyOCU3QiU3RCUyOSUzQiUwQSUzQyUyRnNjcmlwdCUzRQ==[/vc_raw_html][/vc_column][/vc_row][vc_row][vc_column][vc_column_text]I get a lot of questions about how I align a piece of material on my CNC table to make sure it’s square to the table. Use of this simple jig guarantees the material I mount will stay aligned to the table, and more importantly, aligned with the CNC router’s X axis travel. There are no…
-
Vectric Software For the Absolute Beginner – Part 21
[vc_row][vc_column][vc_column_text] Part 21 – 3D Carving Workflow with Tool Change [/vc_column_text][/vc_column][/vc_row][vc_row][vc_column][vc_column_text]This article accompanies the twenty first video in a series on my YouTube channel. If you’re not subscribed to my channel, here’s a link. Come on by and check it out. Hopefully you’ll find something you like. In this 21st video of the series, I’ll wrap up my journey into 3D Carving in Vectric Software by giving you a walk through my workflow from start to finish. First we’ll design the 3D project in VCarve Pro, calculate toolpaths, then save g-code. From there we’ll go out into the shop and transfer the g-code files onto the CNC computer. I’ll load…
-
K40 Laser Unboxing
[vc_row][vc_column][vc_column_text] K40 Laser Unboxing …and we have a problem… Those of you who follow me on Instagram or Facebook undoubtedly saw some “interesting” photos on my timeline and feed over the course of the last couple of weeks. I’ll admit I was teasing a few people with them, and trying to build a little bit of suspense – especially in my family. A few people zeroed in on what I was posting pictures of and knew what they were right away. Most did not. I had to scramble to get people to change or delete posts so as not to let the cat out of the proverbial bag, but other…
-
Adding a Touch Plate and Modifying the Tailstock Mount for the Rotary Axis on My Gatton CNC
[vc_row][vc_column][vc_column_text] With the rotary axis now fully operational, it’s time to add touch plate functionality and modify the tailstock mount on my Gatton CNC’s rotary axis. MODIFYING THE TAILSTOCK MOUNT The tailstock mount is 2 long pieces of t-track with an MDF spacer separating them. It mounts the tailstock just fine, but getting the tailstock lined up with the center of the chuck ended up being a giant pain. I needed to come up with a solution, and luckily the manufacturer of the tailstock gave it to me. The recess in the bottom of the Tailstock Housing The tailstock housing has a slight recess cast into the bottom of it.…
-
The Mount and First Run of the Rotary Axis on My Gatton CNC
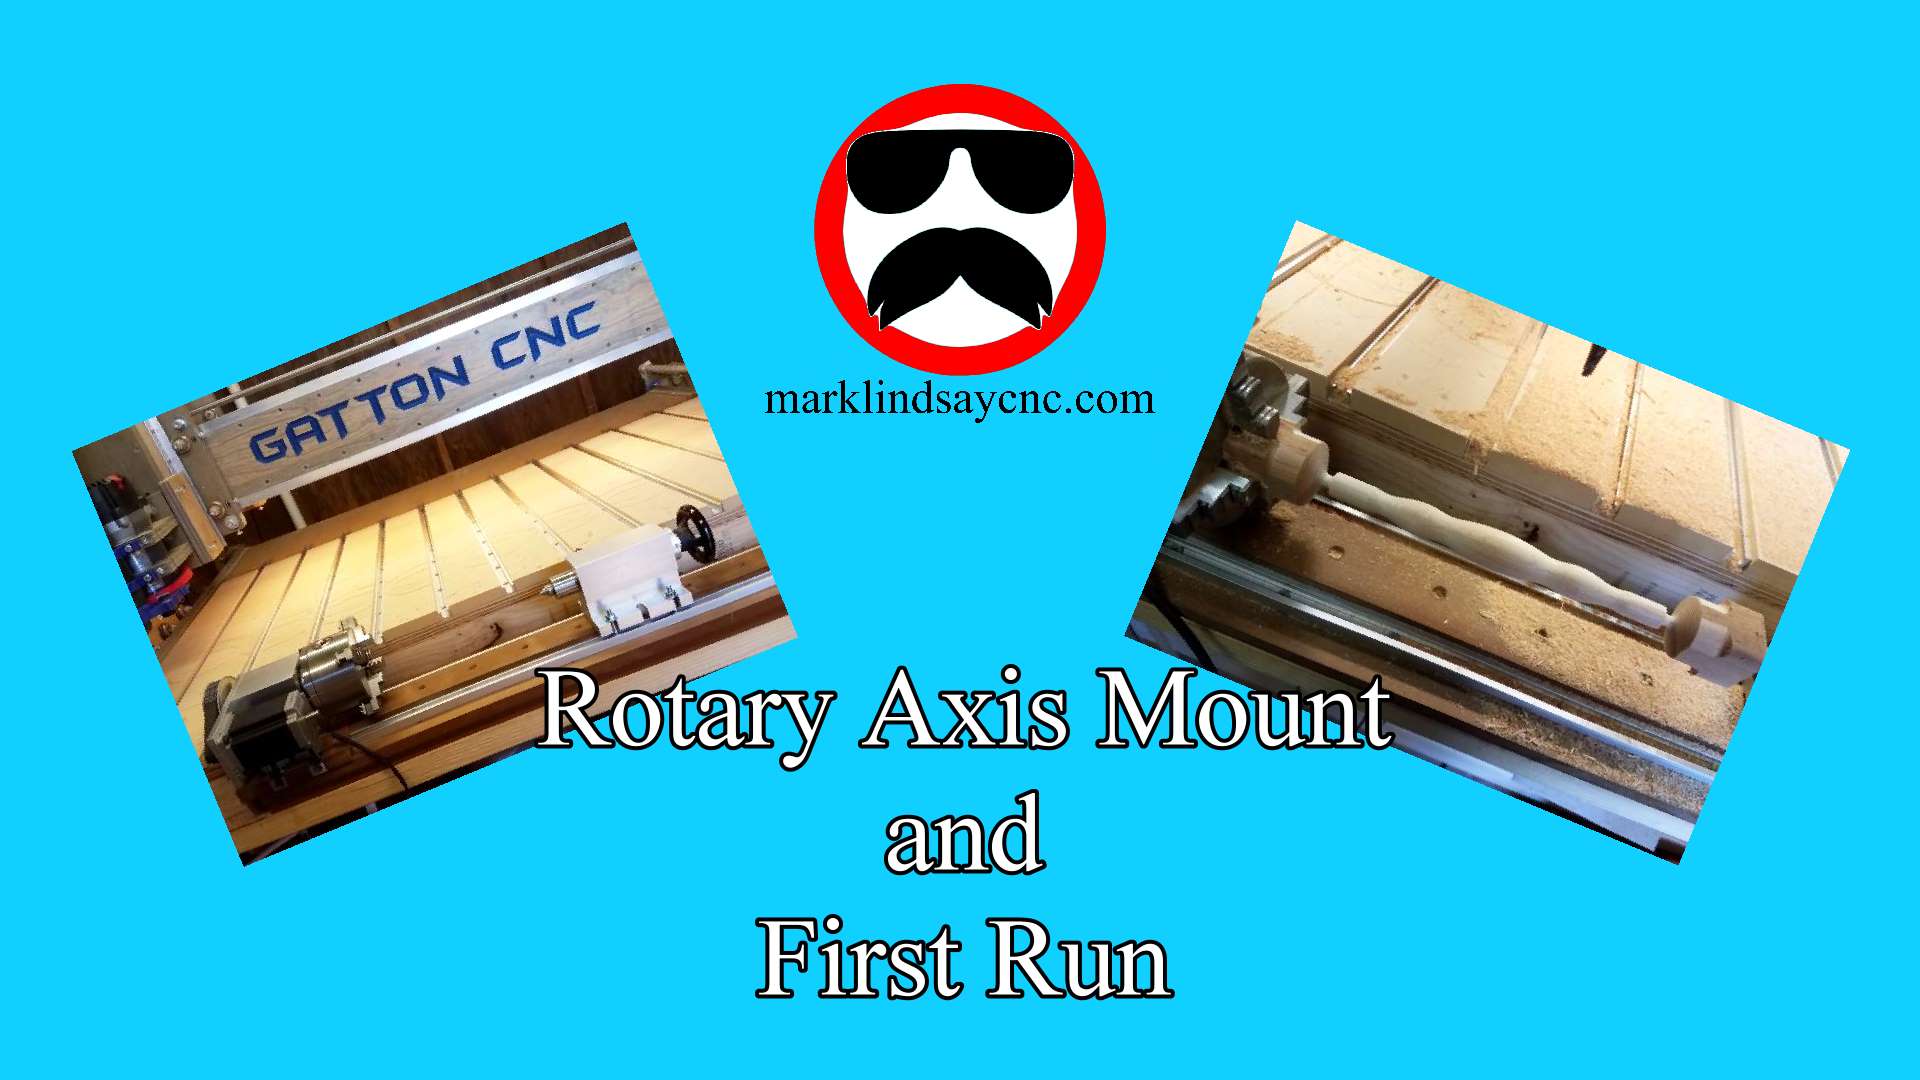
[vc_row][vc_column][vc_column_text] THE MOUNT BASE With the rotary axis set up and tested, it’s time to mount it on my Gatton CNC. When I built the table for my CNC, I included a cutout up front specifically for this project. If I made one mistake, it was in not making the cutout wider. I do regret that now. But, it’s okay – I’ll work with what I got. In the video below, I describe how I screwed a 48” long piece of kiln dried 2×6 to the bottom of my table frame. I then cut 2 pieces of MDF to sit on top of that 2×6. I sealed the bottom and…
-
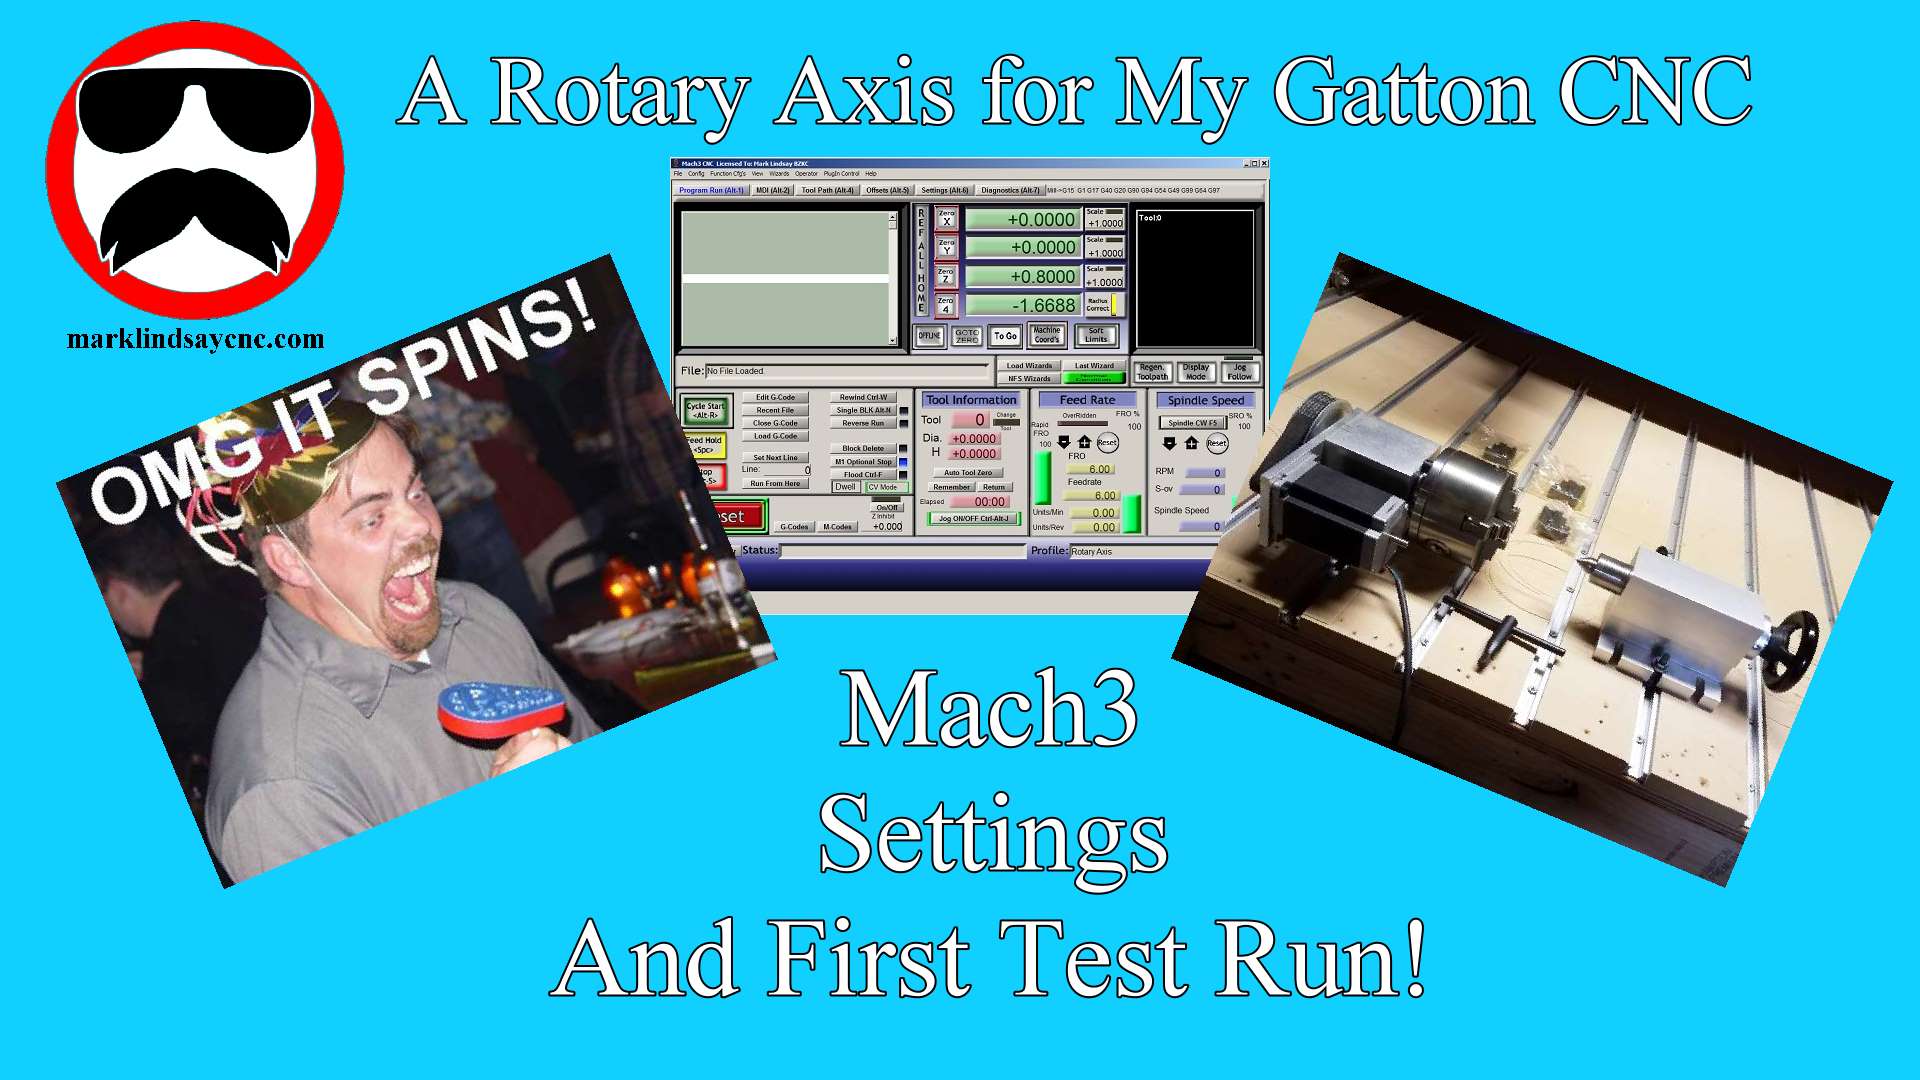
Mach3 Settings for the Rotary Axis
[vc_row][vc_column][vc_column_text] Almost ready! With the rotary axis assembled and ready to go, it’s time to set up Mach3 to work with it. Rather than go through the entire process here, I’ll give you some of the highlights and refer you to the video on my YouTube channel, linked below. I will, however, include screen shots of all of the relevant Mach3 windows that I went through in the video. If you right-click the pictures, then select “Open in New Tab, a full-sized picture will open in a new tab on your browser. Feel free to download and save these pictures for future reference, but please don’t post them online without…
-
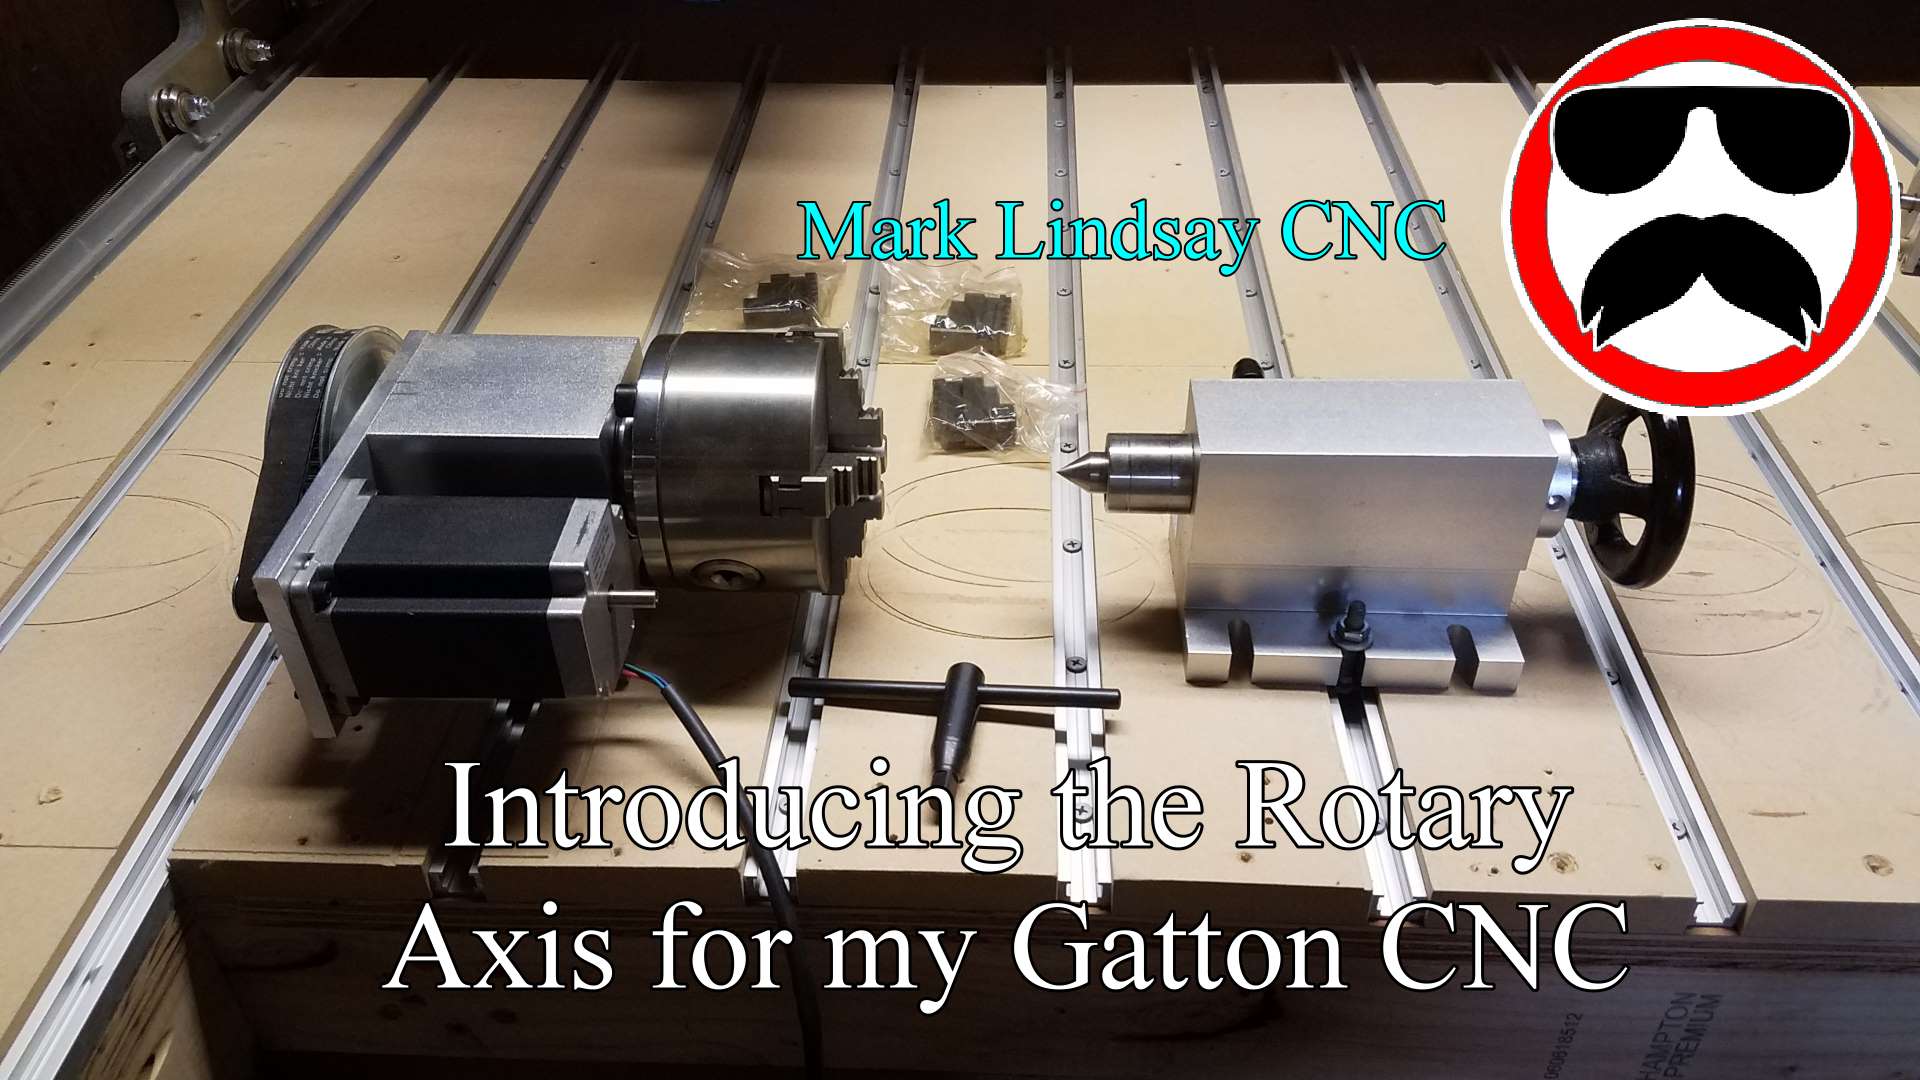
Introducing the Rotary Axis for my Gatton CNC
I’ve wanted to add a rotary axis to my CNC since I built my first Shoestring Budget CNC back in 2015, but they were just too pricey. I looked into a couple of options for a home-built unit, but never found one that I really liked. I downloaded a few sets of free plans. I started looking into building one, getting more and more excited as I did so. I even went ahead and bought a stepper motor to use in the build. Then I immediately got slammed with work, and it had to go on the back burner. When I started my Gatton CNC build back in June of…
-
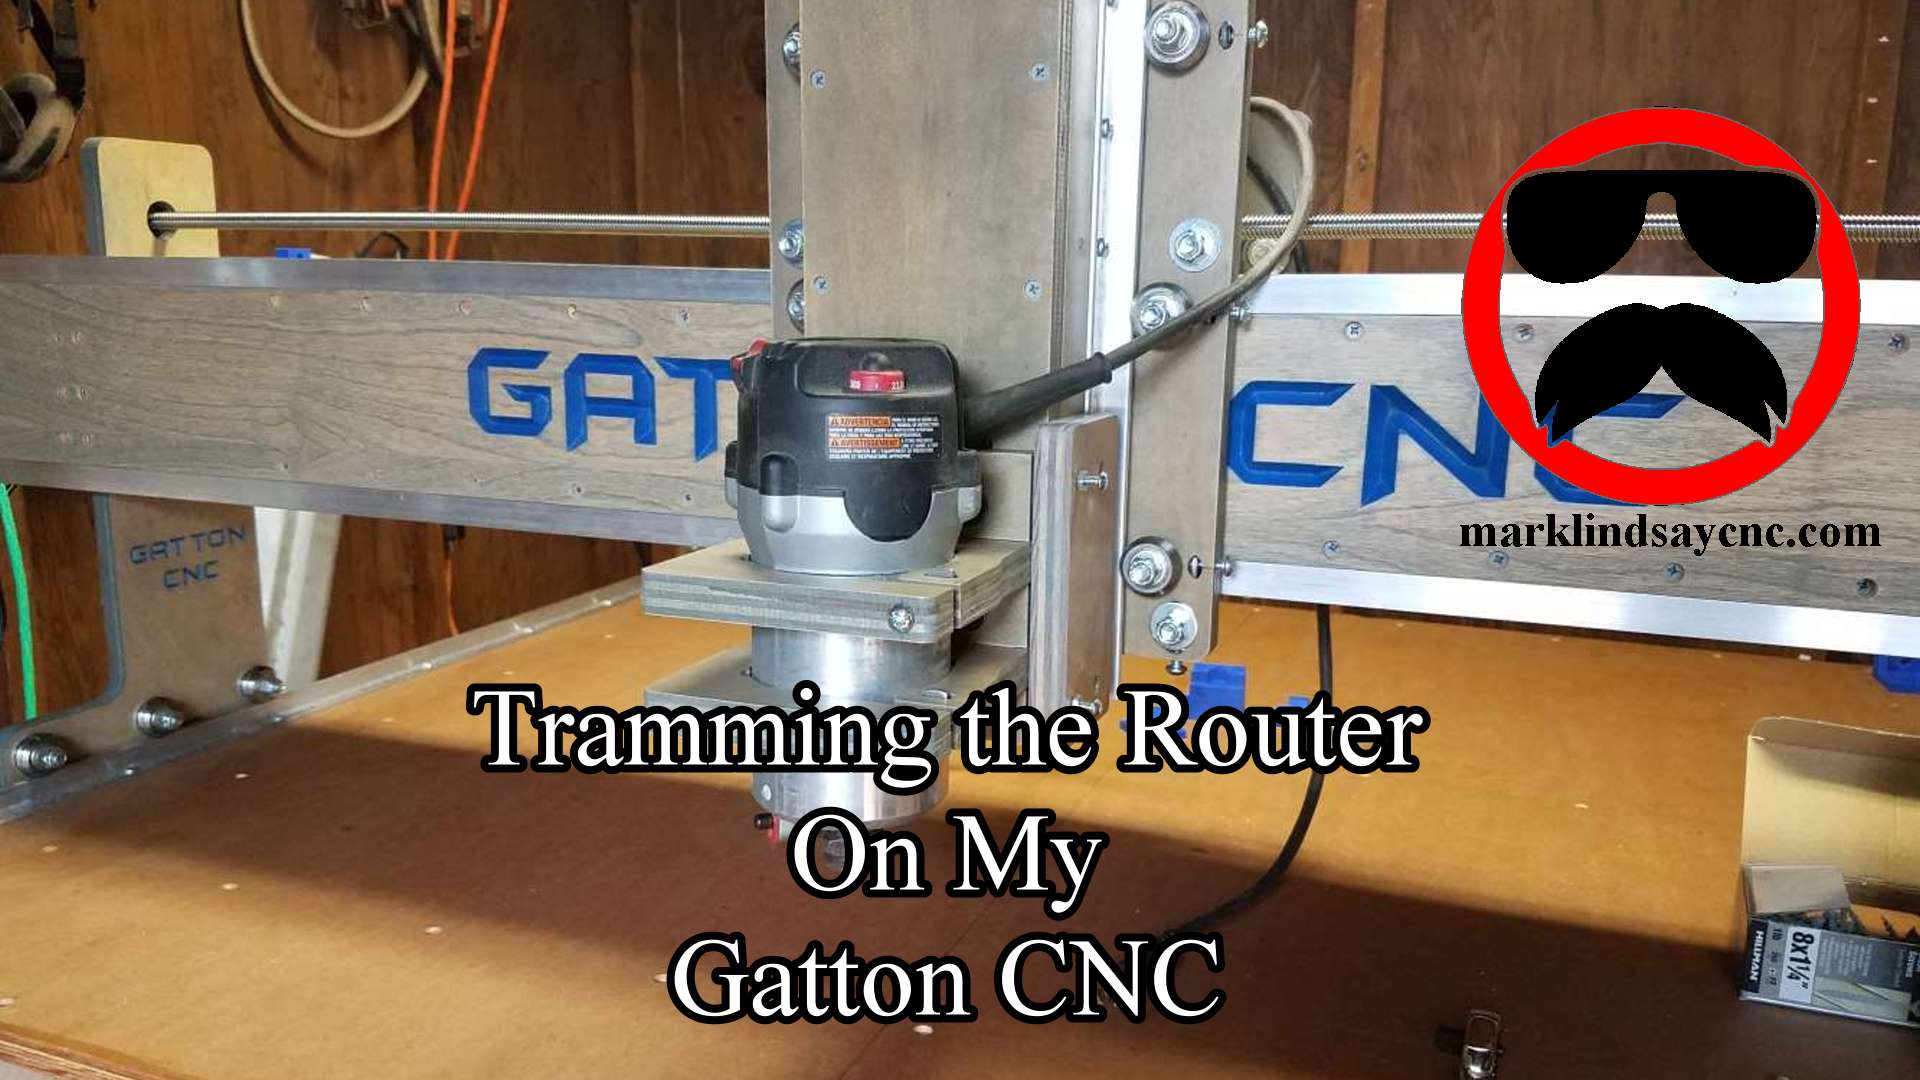
Tramming the Router on my Gatton CNC
What Is Tramming and Why Would You Do It? Tramming the router means adjusting the router mount to get the router as close to perfectly perpendicular to the spoilboard in the X and Y direction as possible. A router that’s not adjusted properly will cut deeper on one edge than it does on the other, leaving ridges and grooves on flat surfaces. This phenomenon is less noticeable when using smaller diameter bits. When you get into using larger diameter bits, however, it can become very apparent. [expand title=”Read More”] In the picture below, you can see an exaggerated demonstration of what I’m talking about. The bit on the left is…