The Mount and First Run of the Rotary Axis on My Gatton CNC
THE MOUNT BASE
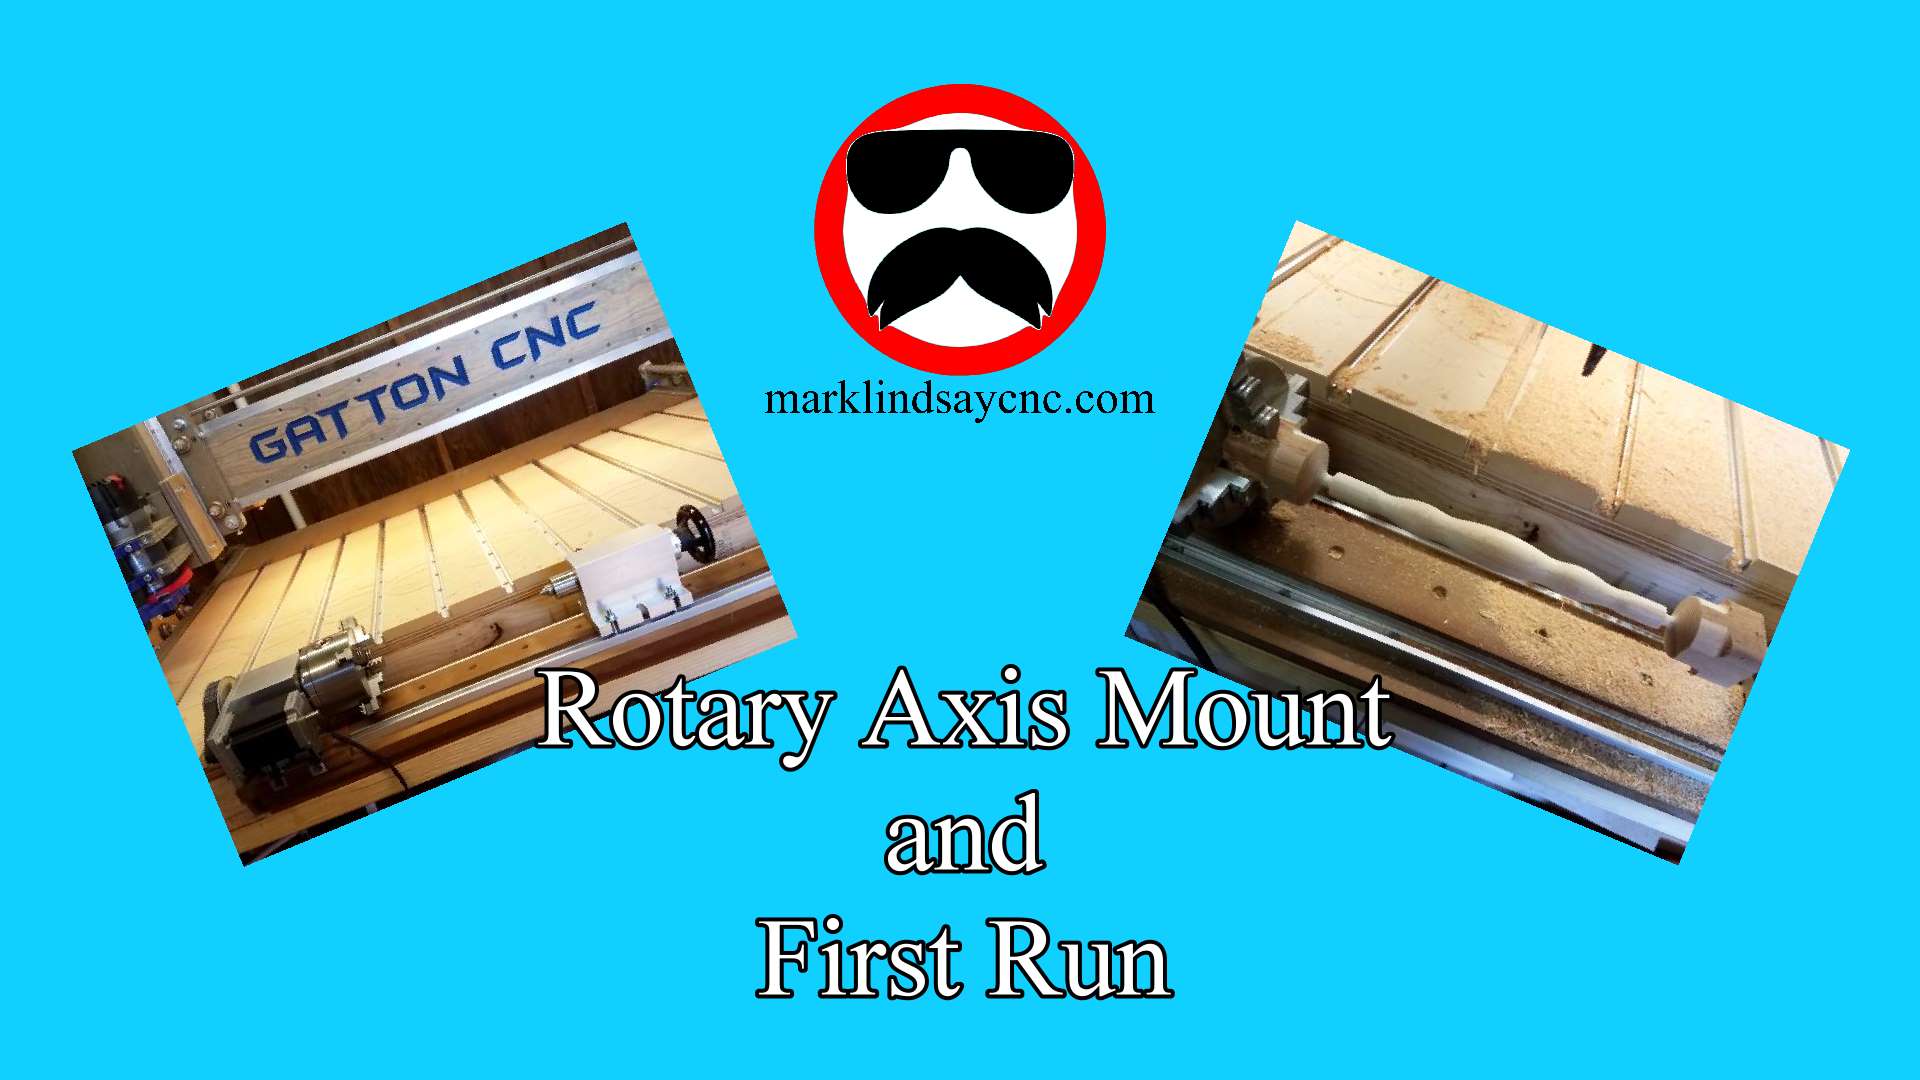
With the rotary axis set up and tested, it’s time to mount it on my Gatton CNC. When I built the table for my CNC, I included a cutout up front specifically for this project. If I made one mistake, it was in not making the cutout wider. I do regret that now. But, it’s okay – I’ll work with what I got.
In the video below, I describe how I screwed a 48” long piece of kiln dried 2×6 to the bottom of my table frame. I then cut 2 pieces of MDF to sit on top of that 2×6. I sealed the bottom and all 4 edges of both pieces of MDF with 3 coats of shellac based sanding sealer.
I then positioned the first layer of MDF, drilled the pilot holes, then screwed it down to the 2×6 with 1 1/4” long exterior grade wood screws. I then sealed the top surface of that piece of MDF with 3 coats of sanding sealer.
When the 3rd coat of sealer was dry, I positioned the second layer of MDF, drilled pilot holes, then mounted it with 2 1/2” long exterior grade woodscrews, driving them through both layers of MDF and into the 2×6. I drove them into the top layer of MDF fairly deeply in preparation fro the next step – surfacing the whole thing with the CNC. After surfacing it to make sure the top surface was parallel with the X axis travel of my CNC, I then sealed it with 3 coats of sanding sealer. I then let everything cure for 24 hours before moving on.
THE HEADSTOCK MOUNT
The headstock mount itself is simply 2 pieces of t-track I had leftover after cutting my spoilboard t-track to length. I spaced them with 3 pieces of MDF, cut from the same piece that the tailstock mount was cut from.

THE TAILSTOCK MOUNT
The tailstock mount is 2 long pieces of t-track with an MDF spacer separating them. All of the MDF pieces were given 3 coats of shellac-based sanding sealer, and fastened with 2 1/2” exterior grade woodscrews.

CHECK OUT THE VIDEO
In the video, I show you the process I went through to set the CNC up for rotary axis use, then show how I mounted a piece of cedar in the chuck. I’m still learning this rotary axis, so if you have any tips or tricks to share with me, I’d really appreciate them.
In a nutshell, that’s about it – with the exception of actually running the g-code. I’ll not go into that here. It’s better to watch it in the video than to read my dismal description of what happened. Suffice to say, I’m very, very happy with the result.

Something I did NOT go into in the video was modeling the part I cut. It was way, way out of the scope of the video. I will be uploading videos that cover that topic later on – count on it.
So that’s it! Thank you very much for stopping by! As usual, if you have a question or comment, leave it in the comments section below. Or, if you’d prefer, go over to the Contact Us page and submit it to me there. Remember to click that link up at the top of the page to check out my T-Shirt shop!
Until next time, take care and have fun!
[amazon_link asins=’‘B01H54ULSO,B000A804DA,B000ALY4E2,B000CD1T0A,B0000DCBK0,B00005QEVQ,B000C02BXW,B0002YQ3KA,B0000225XE,B019G0VVTI’ template=’ProductCarousel’ store=’malicn-20′ marketplace=’US’ link_id=’a61cfcca-ccd4-11e7-98ea-53defb9beaf6′]


