Vectric Software for the Absolute Beginner – Part 23
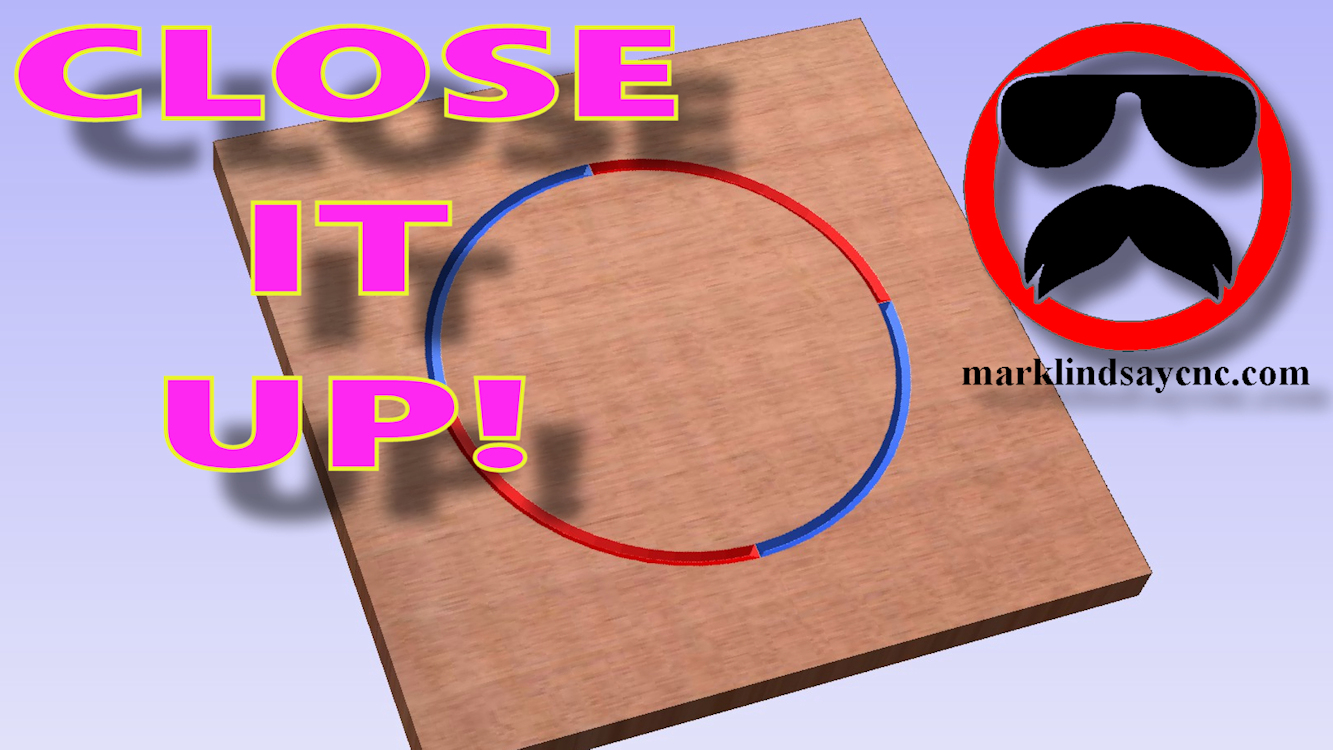
Part 23 – Closing Open Vectors
This article accompanies the twenty-third video in a series on my YouTube channel. If you’re not subscribed to my channel, here’s a link. Come on by and check it out. Hopefully you’ll find something you like.
In this video, I’ll demonstrate two different ways of closing vectors in preparation for v-carving them.
A lot of us have had problems closing stubborn vectors, or just wrapping our heads around joining vectors that either don’t want to join, or trying to use the same vector in 2 separate vector objects. An example of such a thing is creating two objects that are side by side, and share a common vector.
I’ll show you a way to create separate vector objects using an offset of a vector, and another method that uses layers to copy and edit vectors that are needed by two different objects.
I’ll also explain (poorly) something that I refer to as “thinking in v-carve.” What I mean by that is, in normal graphics, we are taught to think about the lines (or strokes) and what’s inside those lines (fills) are secondary – to be filled with colors, gradients, fades, patterns, etc… In v-carving, we need to think about the area inside those lines (or vectors,) as the actual line we’re carving. All of the area we want to carve away has to be inside those vectors, and those vectors have to be joined into one closed vector. Most of us know and accept that. The problems come when you have 1 vector that needs to be a part of 2 or more different closed vectors or vector objects. This is where thinking in v-carve comes in.
My thought process goes something like this: I have to create 2 closed vectors. I need one particular vector in both of those closed vectors. What can I do to make that happen? I then have to decide which way I want to use that single open vector to create the two closed vectors I need. There are many ways of doing just that, and in the video I show you two of them.
FOR THE ABSOLUTE CNC BEGINNER
Don’t stress over any of this. It’s supposed to be fun, remember? You CAN learn this. You CAN do this. It’s not always super easy, but it’s never really super difficult, either. Just like anything else you want to do, there is no replacement for experience – and the only way to get that experience is to practice. Get into your CAD/CAM software, and learn it. Draw in it. Calculate toolpaths. Generate g-code. You don’t’ have to cut anything with it – it’s more important that you learn how to use the software than it is to start making chips.
That’s enough out of me. Below is a link to the 23rd video in the series that’s geared toward the absolute Vectric software beginner.
I use Aspire version 9.517 in this video, but all of the information in the video applies to VCarve (both the Desktop and the Pro versions,) and Aspire software.
As usual, if you have any questions, comments, or concerns, please feel free to comment! If you don’t wish to make a public comment, click this Contact Us link, and submit it to me privately. I read ALL of the messages I get through my website, and I answer as many as humanly possible – unless you’re a spambot. Spambots get blocked – so there.
Remember, beginners – relax, take your time, and enjoy the process. It’s supposed to be fun, remember? You can do this. I’m living proof.
SUMMING UP
For more information on, or to download a free trial of VCarve Pro, visit the Vectric website at:
Remember to click that link up at the top of the page to check out my T-Shirt shop!
Until next time, take care and have fun!