- All Posts
- 3D Model Carving
- Beginner
- Channel Update
- CNC Router
- Laser
- Live Q & A
- Podcast
- Software
- Techniques
- Tools and Supplies
- Tutorials
- Back
- Rotary Axis

[vc_row][vc_column][vc_column_text] Part 1 – Job Setup, Vector Selection, and Basic Navigation [/vc_column_text][/vc_column][/vc_row][vc_row][vc_column][vc_column_text] This article accompanies the first video in a...

[vc_row][vc_column][vc_column_text] With the rotary axis now fully operational, it’s time to add touch plate functionality and modify the tailstock mount...
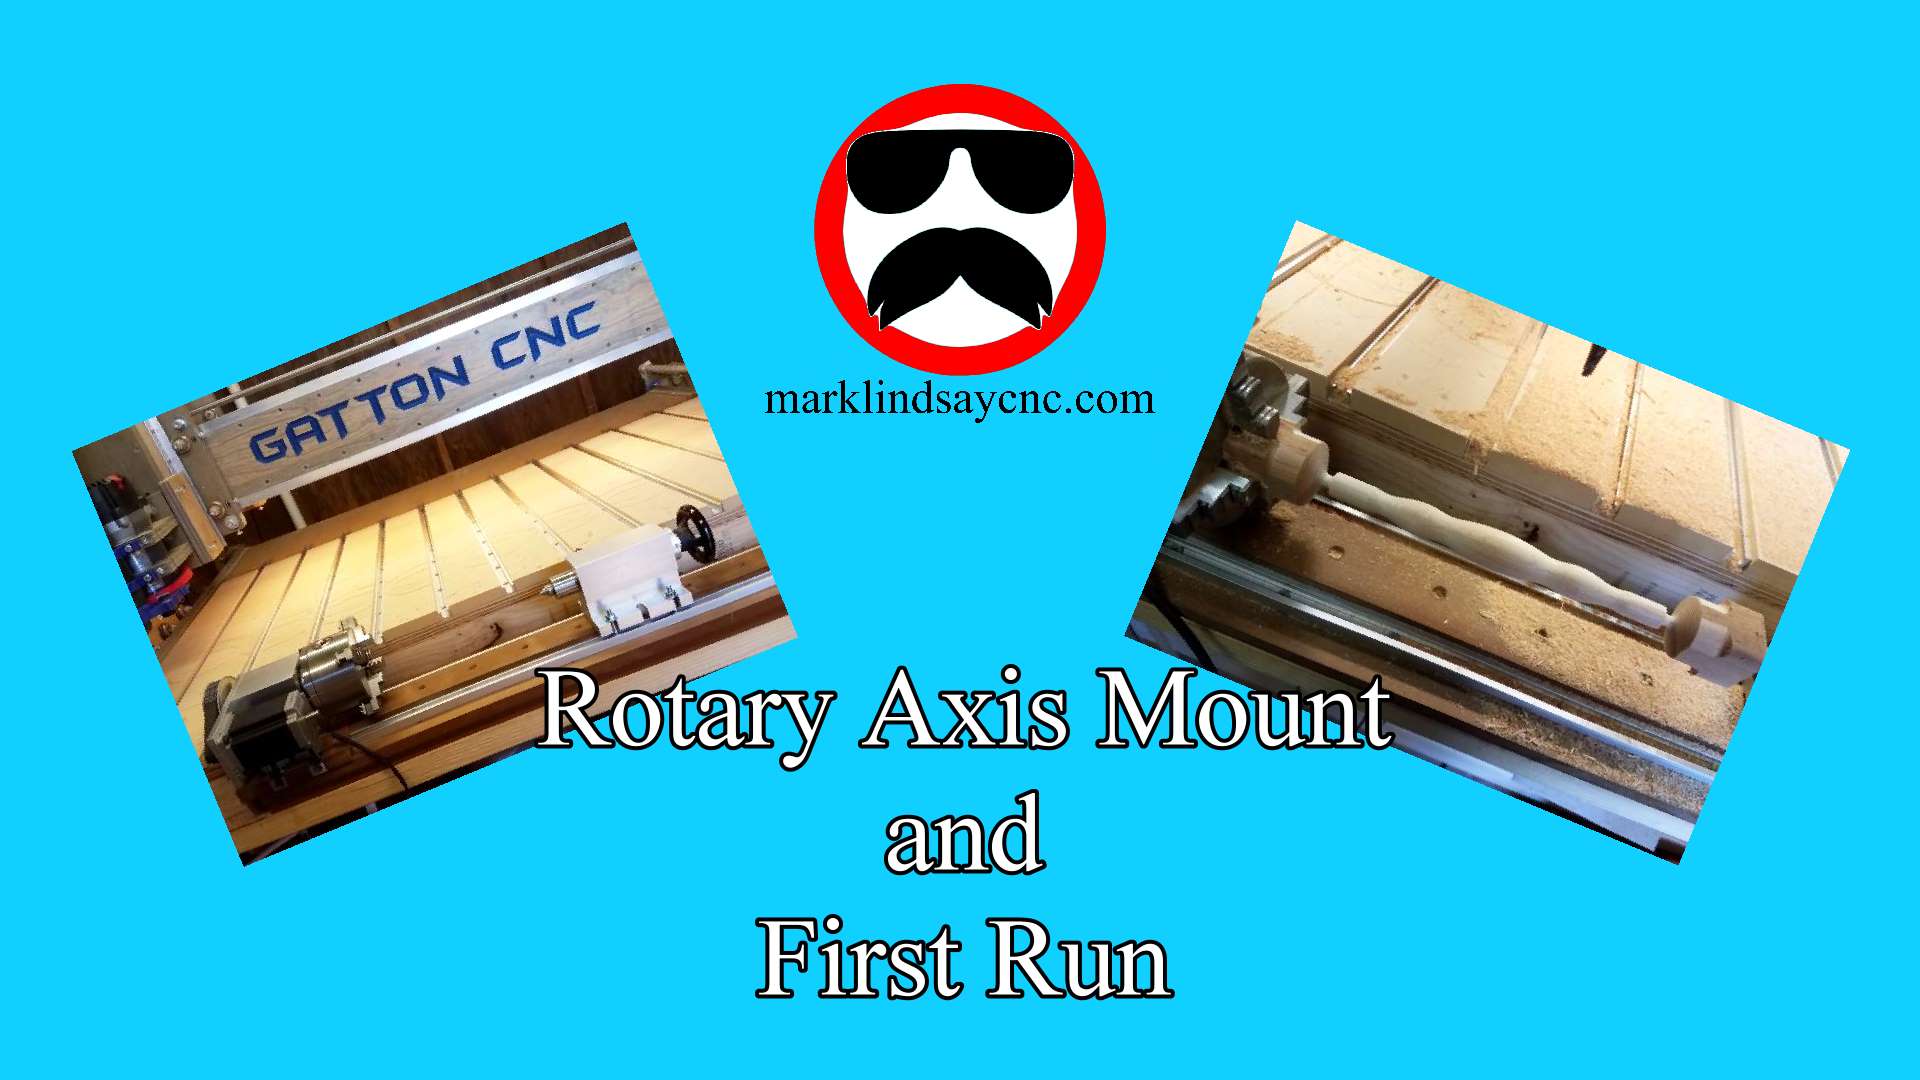
[vc_row][vc_column][vc_column_text] THE MOUNT BASE With the rotary axis set up and tested, it’s time to mount it on my Gatton...
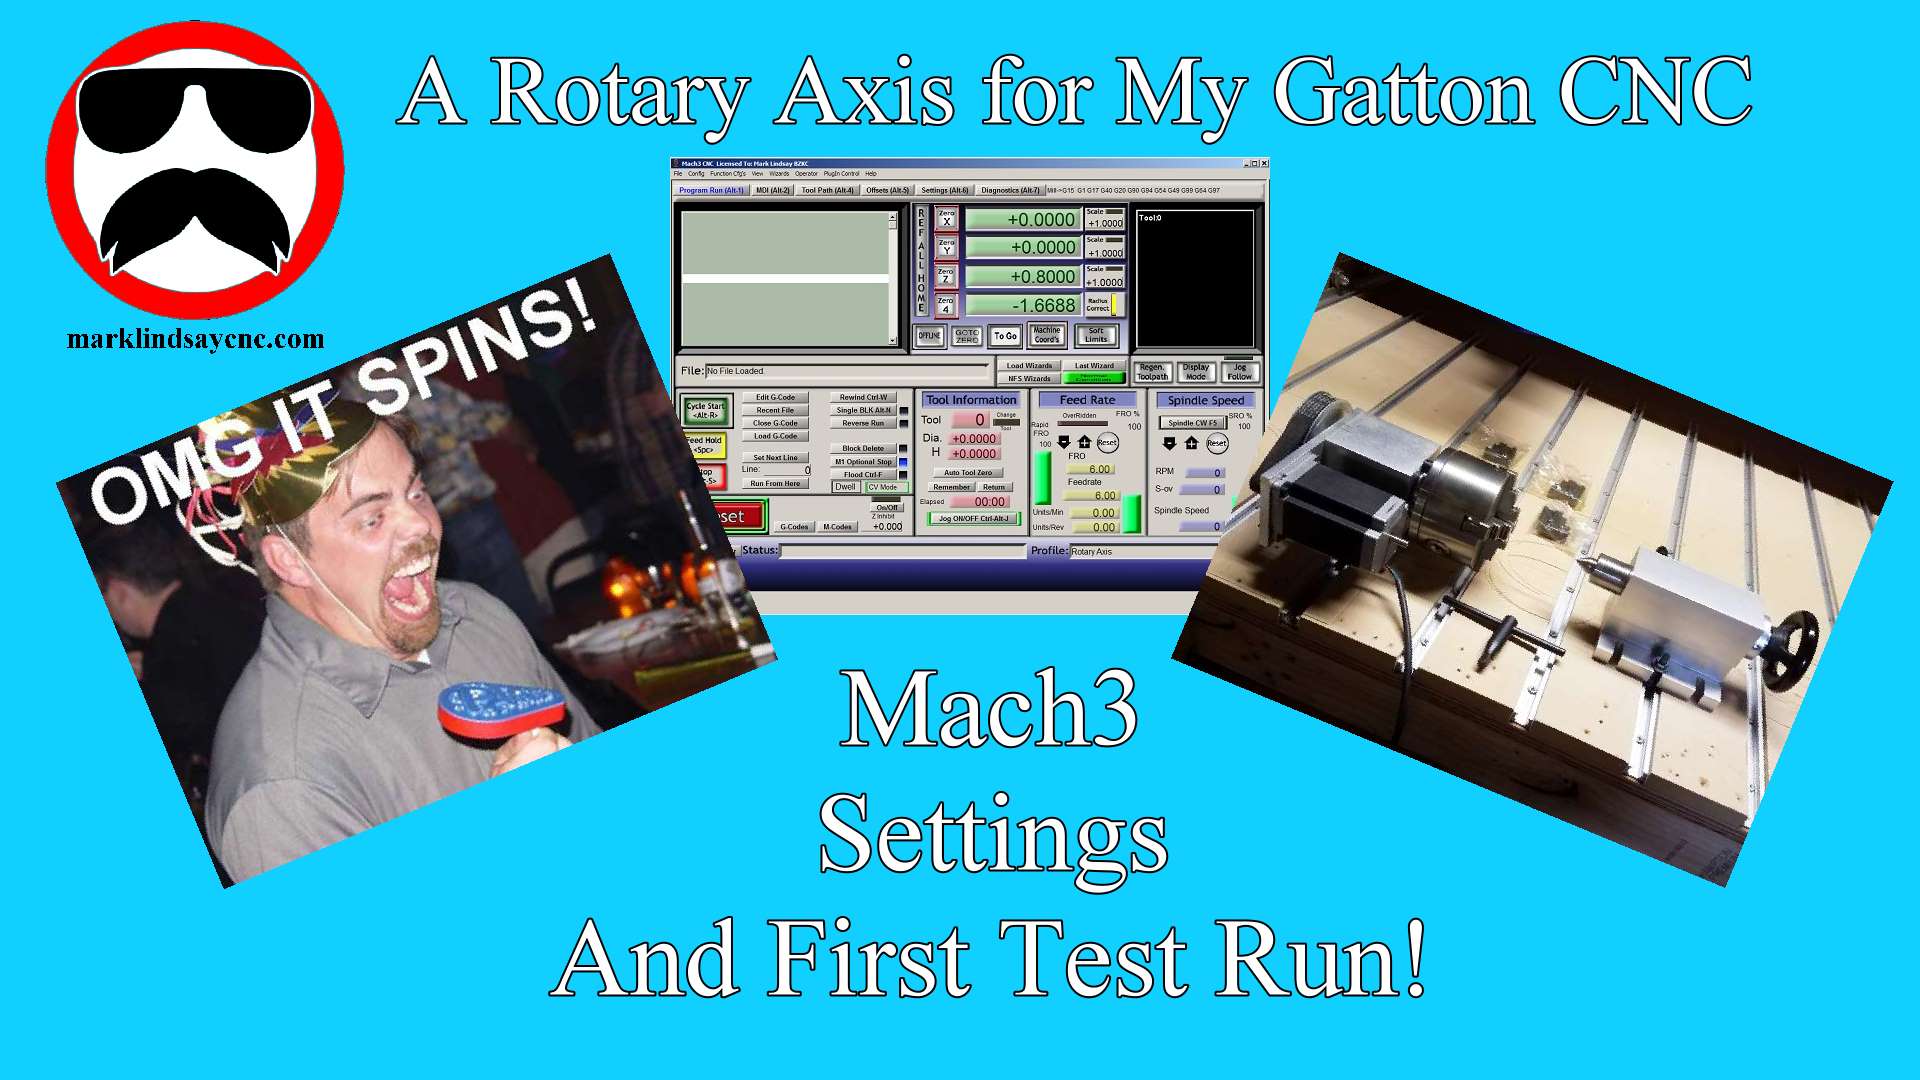
[vc_row][vc_column][vc_column_text] Almost ready! With the rotary axis assembled and ready to go, it’s time to set up Mach3 to work...
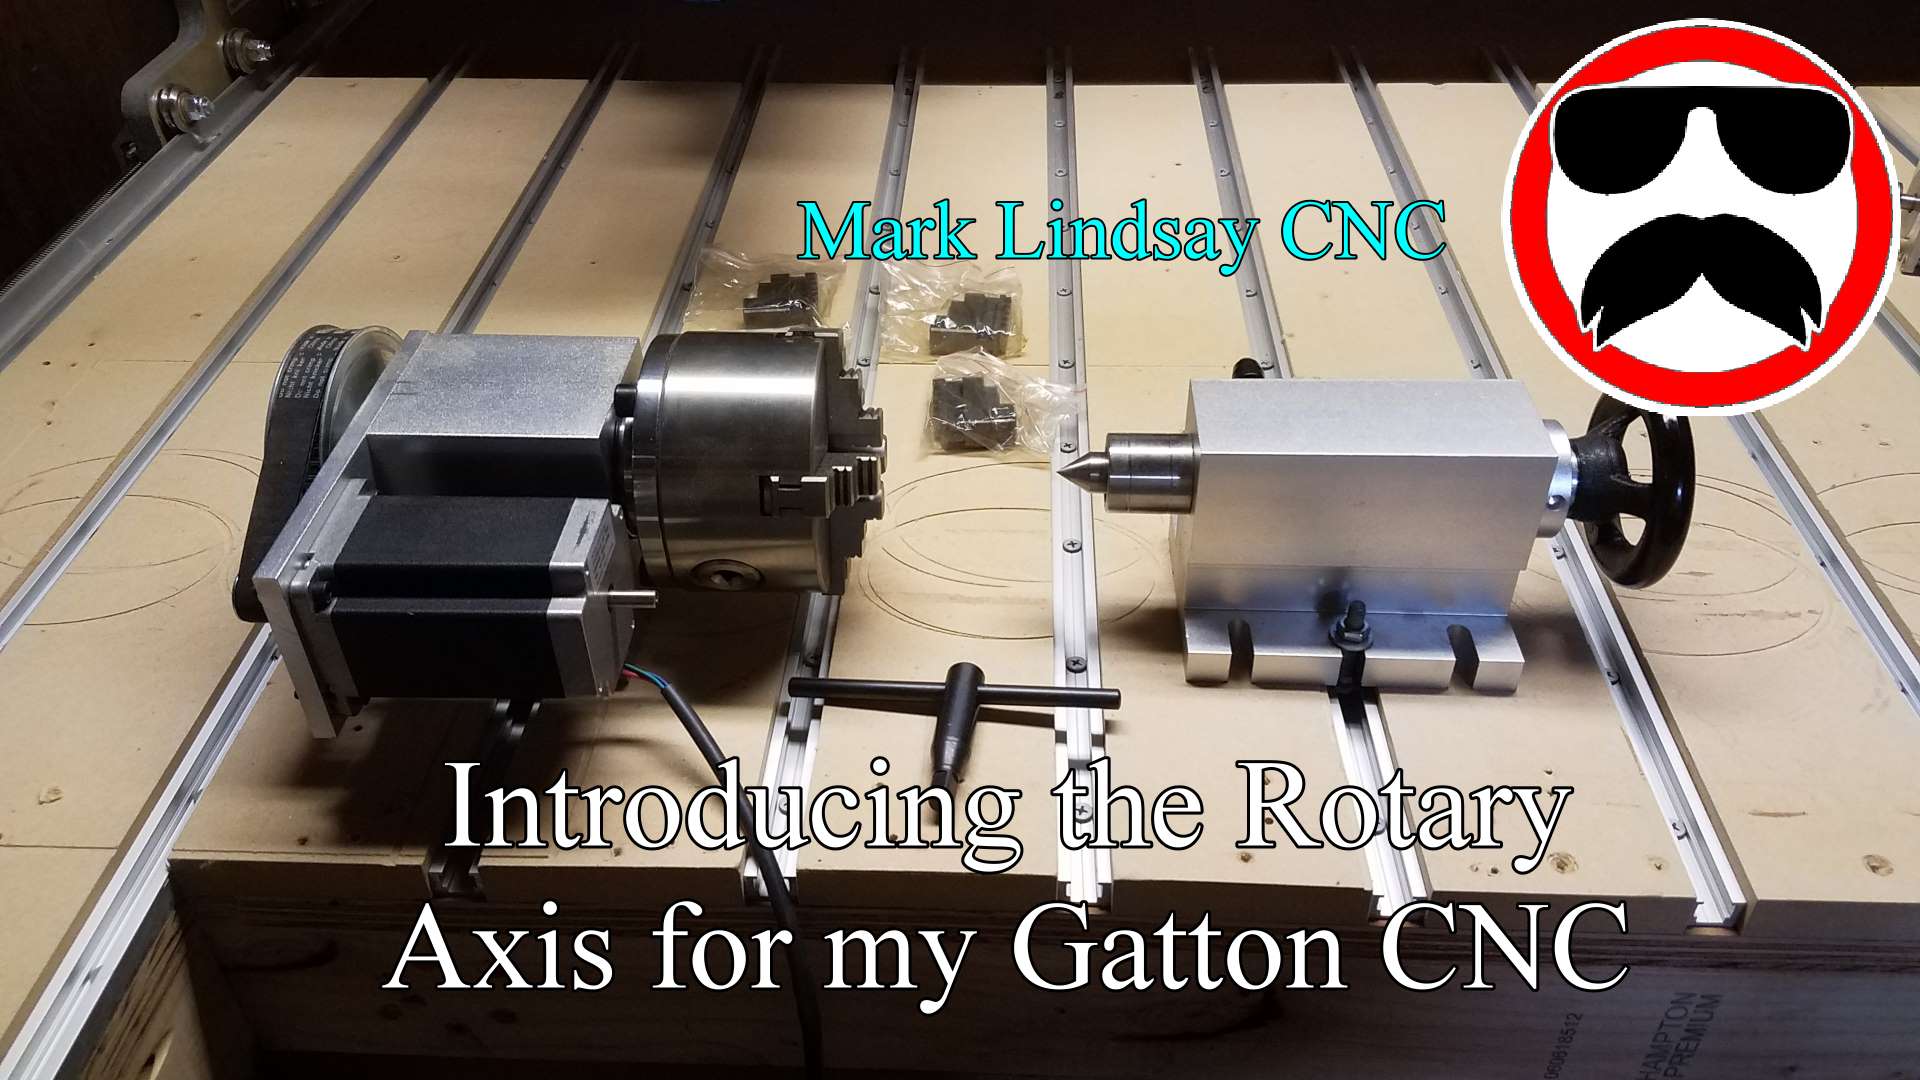
I’ve wanted to add a rotary axis to my CNC since I built my first Shoestring Budget CNC back in...
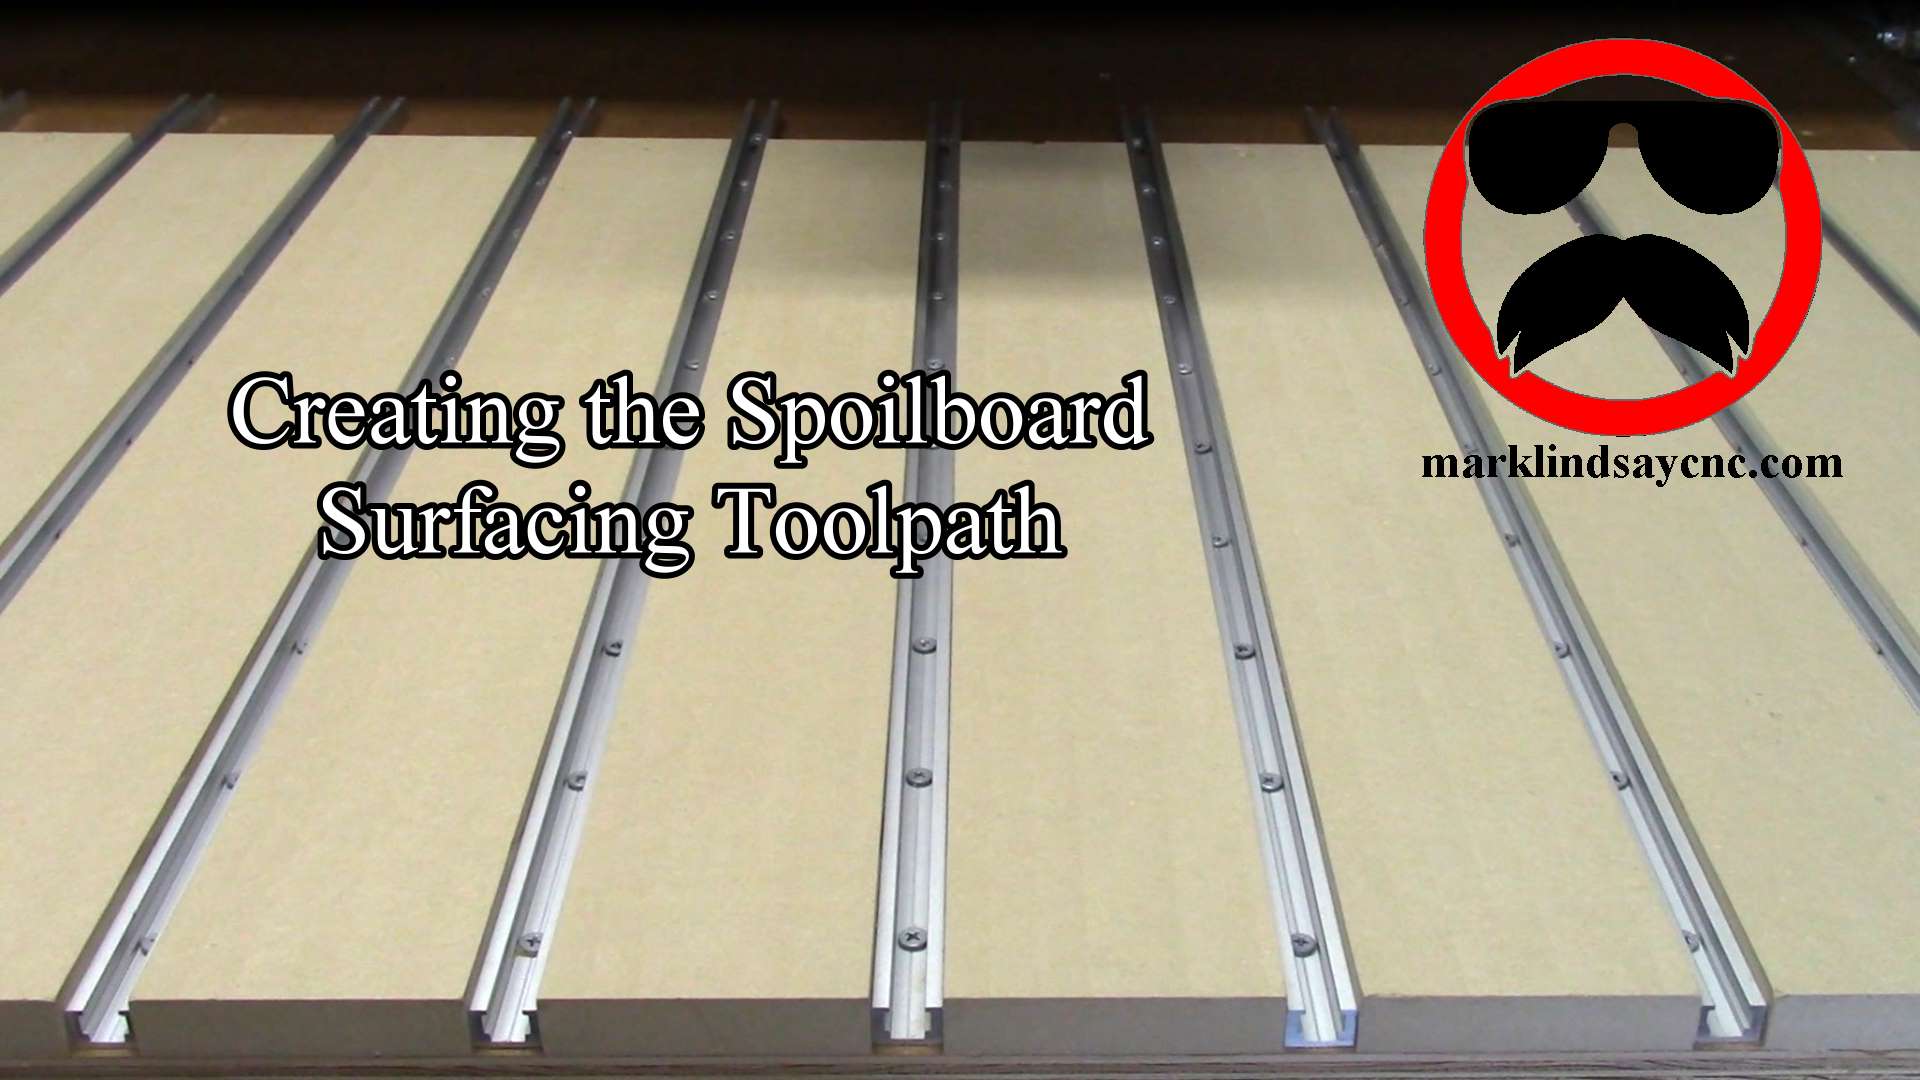
Surfacing a spoilboard is the final necessary step, after laying one down on the CNC table. Creating the surfacing toolpath...
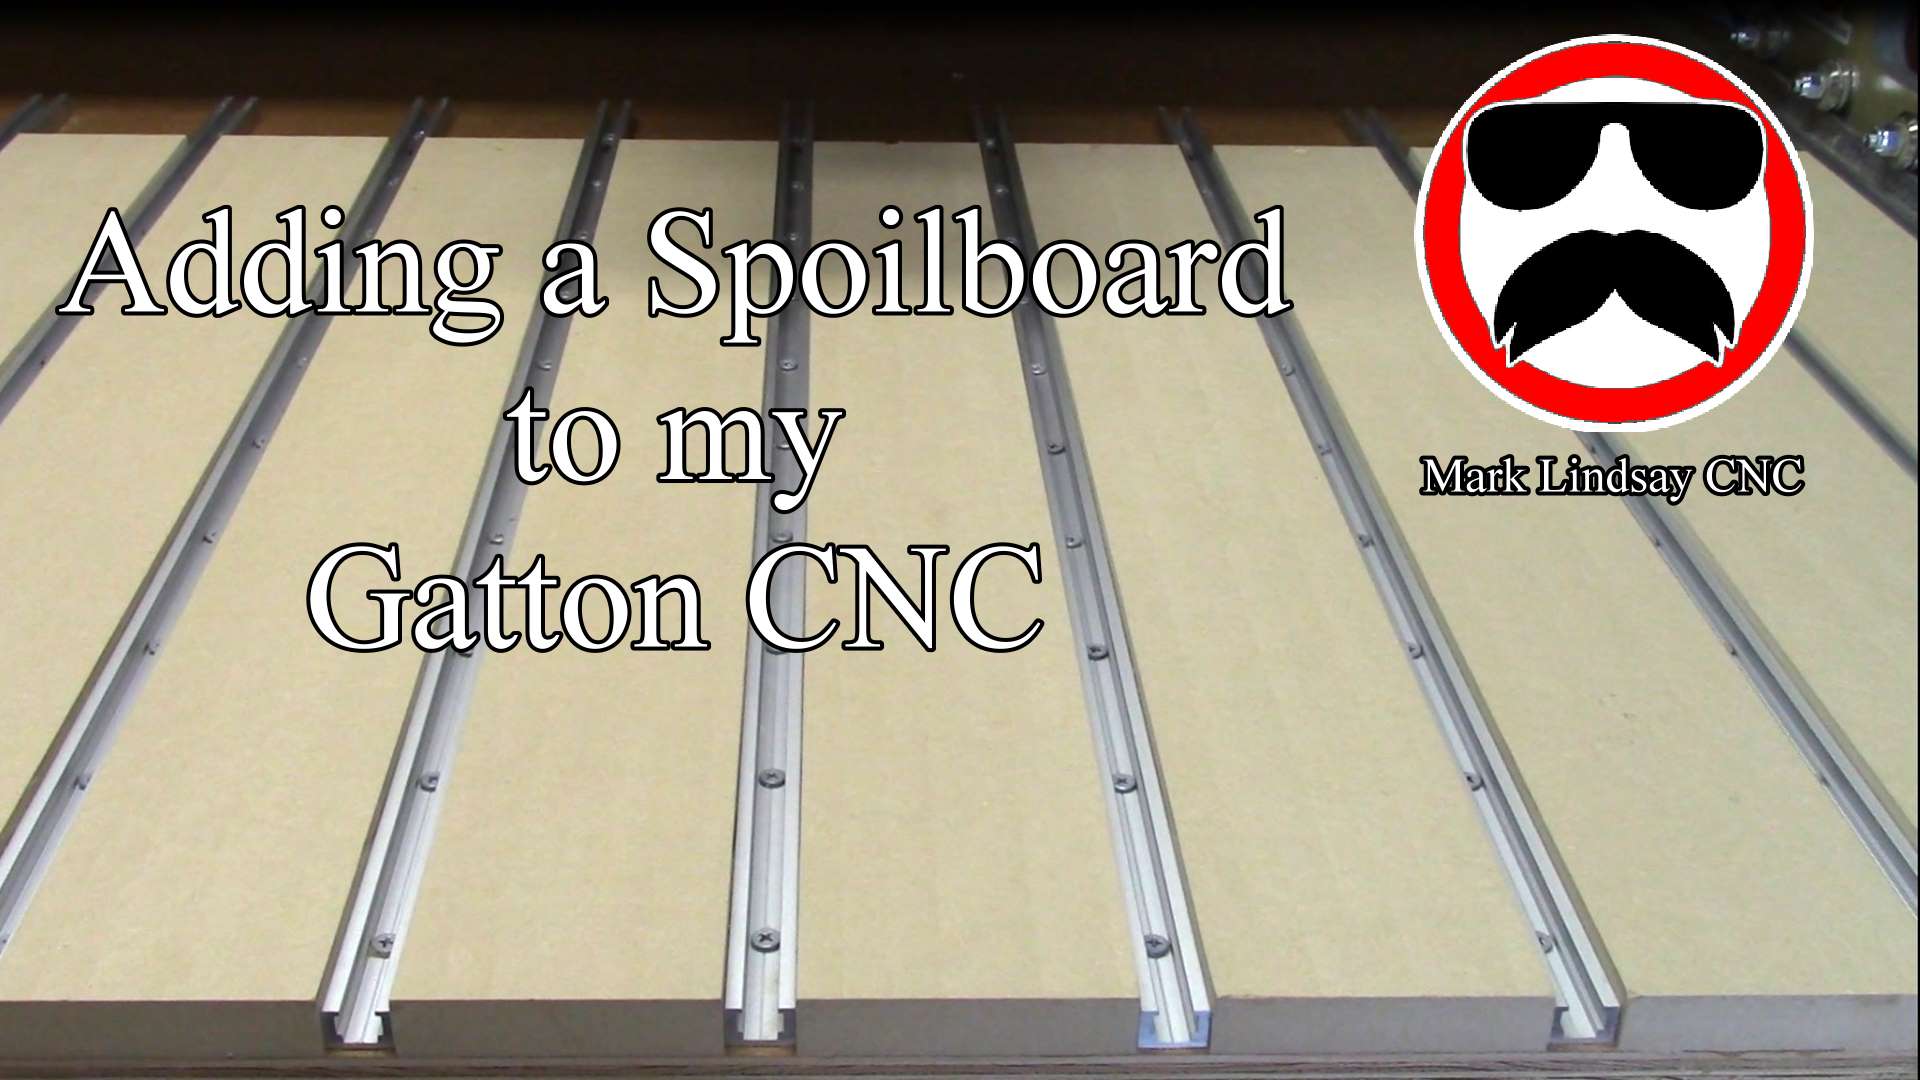
One of the final steps I needed to take before putting my Gatton CNC into service was laying down a...
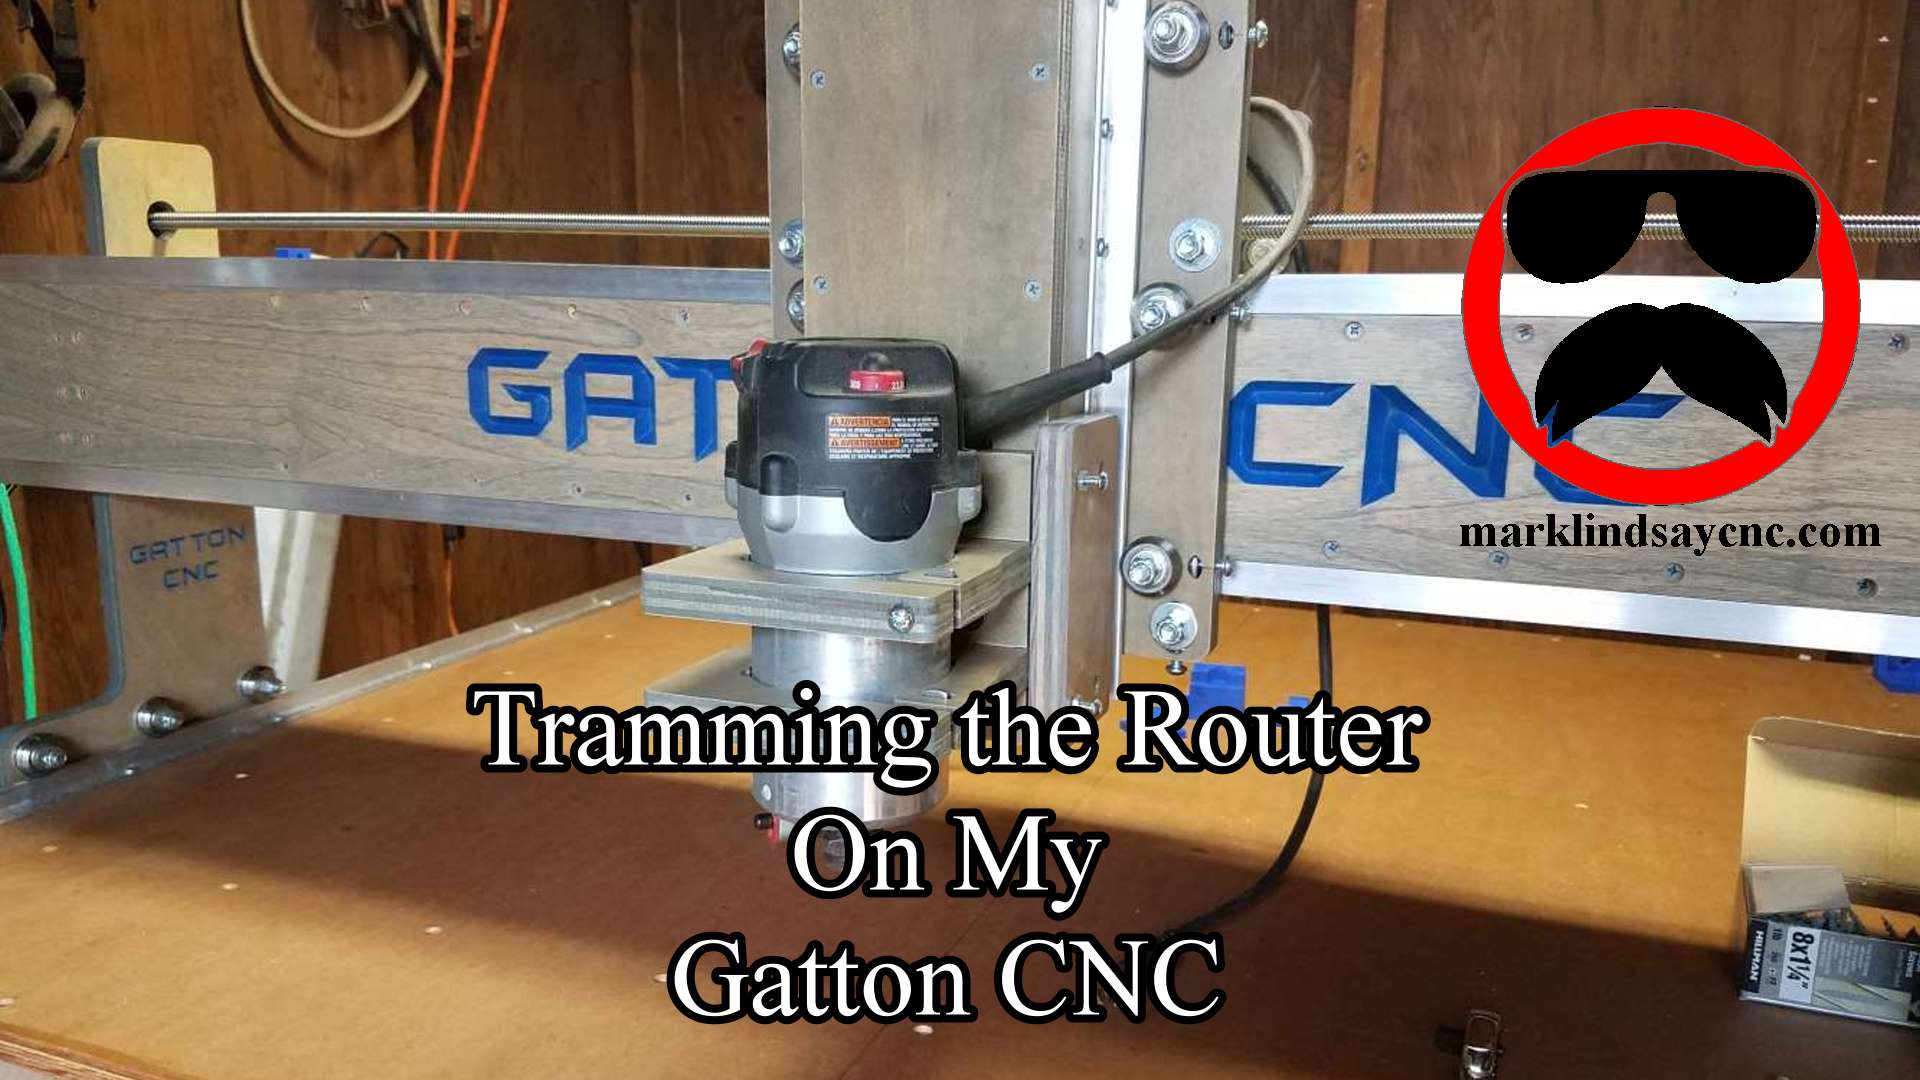
What Is Tramming and Why Would You Do It? Tramming the router means adjusting the router mount to get...
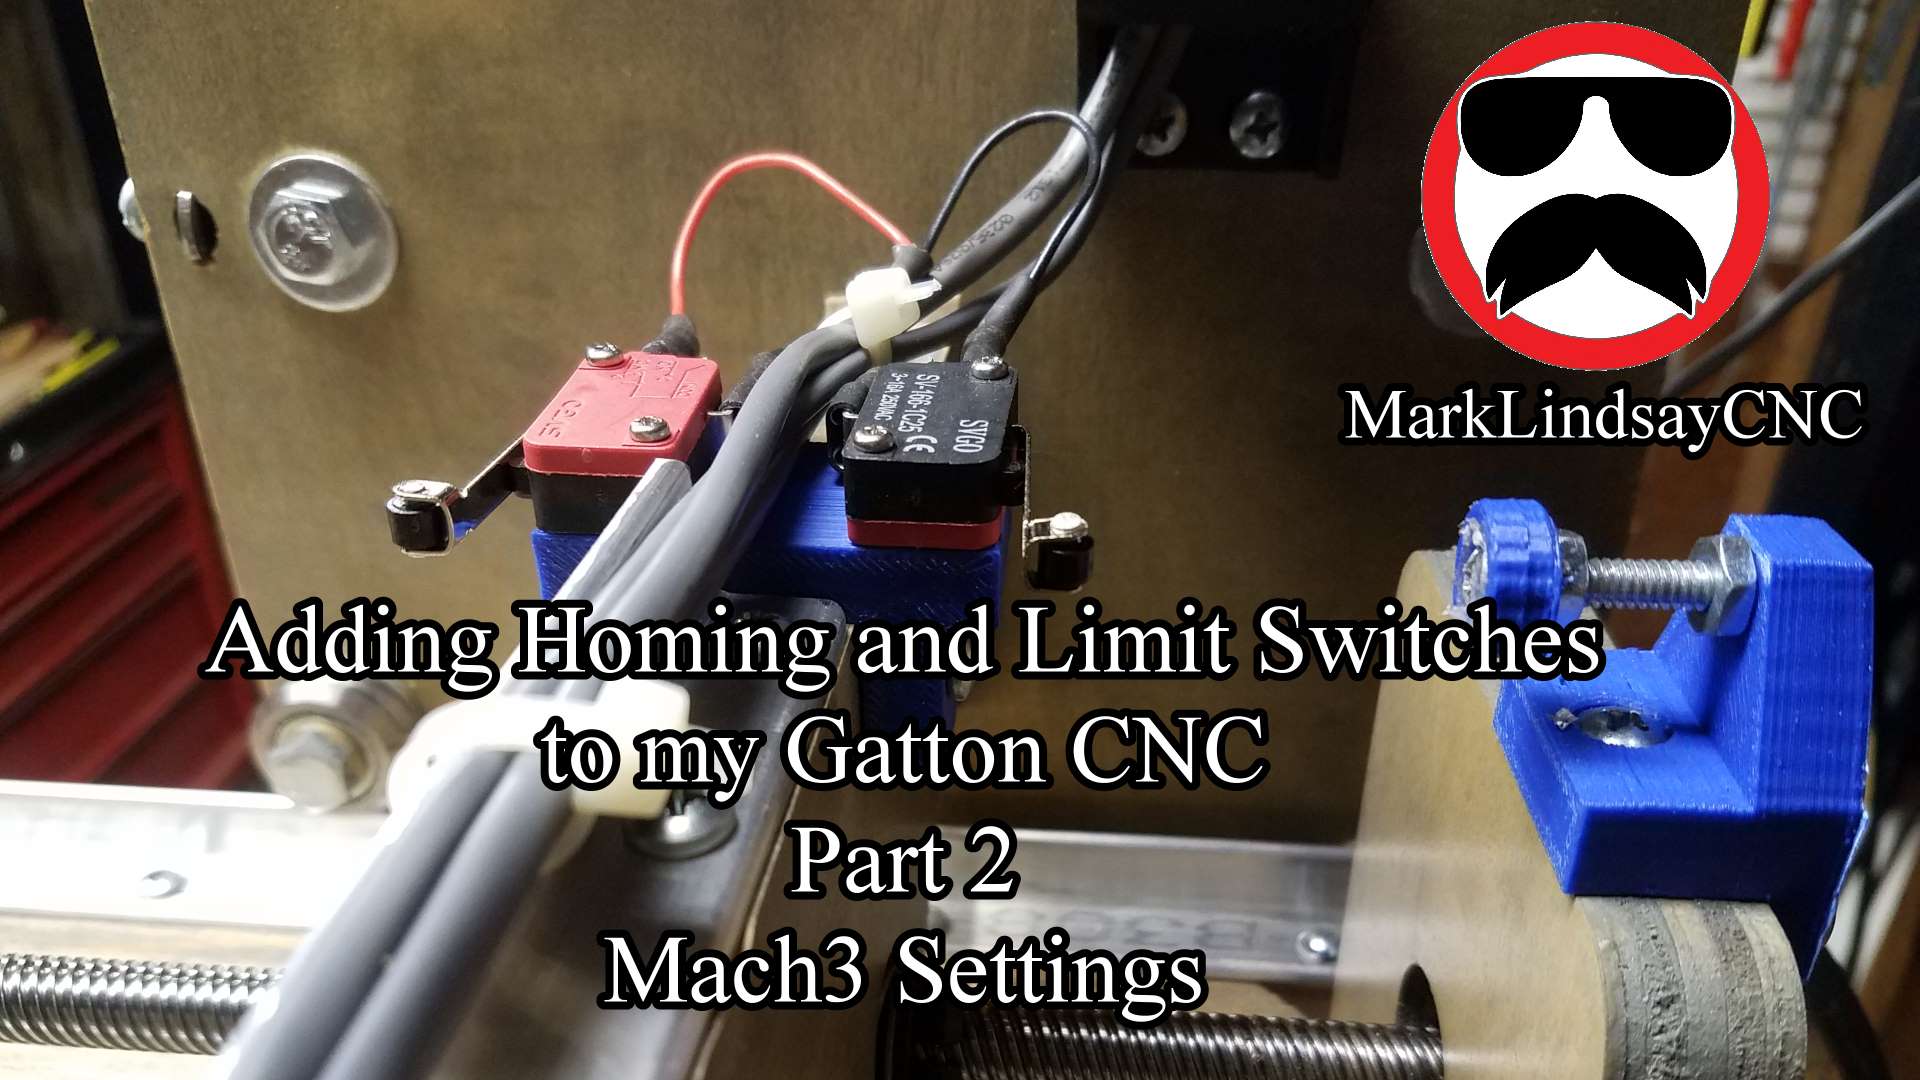
Adding homing and limit switches to my Gatton CNC wasn’t as difficult as I thought it would be, but there...