What Is Tramming and Why Would You Do It?
Tramming the router means adjusting the router mount to get the router as close to perfectly perpendicular to the spoilboard in the X and Y direction as possible. A router that’s not adjusted properly will cut deeper on one edge than it does on the other, leaving ridges and grooves on flat surfaces. This phenomenon is less noticeable when using smaller diameter bits. When you get into using larger diameter bits, however, it can become very apparent. [expand title=”Read More”]
In the picture below, you can see an exaggerated demonstration of what I’m talking about. The bit on the left is tilted clockwise, so the cutting edge of the bit is cutting deeper into the material on the right side than it is on the left. This is known as shingling, because when you look at it from above, the ridges and grooves look like rows of shingles on a roof. The bit on the right is running straight and true, leaving a smooth cut.

Tramming the router eliminates that shingling problem.
Let me say right here that you may or may not need to tram your router. If you’ve been using it for a while and you haven’t noticed a problem, you probably don’t have one. If you mainly use bits and end mills smaller than about 1/4” in diameter, you may never notice a thing. I didn’t notice any problems on my Shoestring Budget CNC until I went to surface a pine slab with a 1 1/4” diameter bit. It was then that I discovered just how badly I needed to tram my router.
If, on the other hand, you plan on surfacing materials like slabs or rough milled lumber on your CNC, you might want to look into tramming your router. In my opinion, I think a person should tram their router even if they just plan on adding a spoilboard and surfacing it. If you’re going to go to all of the trouble of adding a spoilboard, you’ll want it as flat, smooth and level as you can get it, right?
So What Tools Do You Need to Tram Your Router?
When it came to tramming the router on my Gatton CNC, there were a lot of options. Edge Technology offers a Mini Pro Tramming System, which consists of an anodized aluminum beam that has 2 dial indicators on it. Basically, you chuck it into your router, and use the dial indicators to get very precise measurements. They run right around $125.00, however, and that just isn’t in the cards for me right now. I may get one further down the road, but for the moment, I need to focus on a cheaper alternative. Instead, I went with a Triton dial indicator, which I ordered online for less than $20.

We’ll also need a piece of glass, some small blocks of wood to hold the glass stationary, and something to use as shim stock.
Why do we need a piece of glass? Well, in order to adjust the router, we’ll need a flat, level plane to measure it against. The piece of glass is going to provide that level plane. You don’t need any special kind of glass. I used a piece of glass from a cheap picture frame I picked up at the big box store for less than $2. I would suggest, however, that you don’t use a piece of glass larger than 8” x 10”. The reason for that is because even though the dial indicator isn’t putting very much downward pressure on the glass, it can be enough to make the glass flex. That will throw off your measurements, and your tramming won’t be very accurate at all.
You’ll also need a way to mount the dial indicator in to the router. In the video posted below, I show you the mounts I made out of scrap. They both worked like a charm.
Tramming Isn’t Difficult
While tramming the router isn’t the most exciting thing in the world, it wasn’t hard to do at all. All in all, it took me about 2 hours to do, but it has taken some other folks I’ve talked to up to 6 hours or more, depending on how far they needed to adjust it. With that in mind, let me offer a few tips that can make things go a lot smoother for you.
First and foremost, don’t lean on the table while you’re taking measurements. In fact, you should completely clear the table of everything other than the glass and shims. You’d be surprised at how much your dial indicator will move if you even rest your hand on the table. Try it and see for yourself.
Adjust the nod of the router first. If you adjust the tilt first, when it comes time to adjust the nod, you’ll undo all of the work you did when you adjusted the tilt.
When measuring the nod of the router, take the reading you get and divide it by two, then use a shim of that thickness if possible. In other words, if you find that your router is off by .012, divide that by 2 and use a shim that’s .006.
For shimming the router mount to adjust the nod, I sacrificed an old blade type feeler gauge. The blades are clearly marked, and you should be able to find one at an auto parts store if you don’t have one. The blades I used tucked under the router mount horizontally like they had been made for that job, and it made shimming the mount really easy.
Other than that, relax, take your time, and take breaks when you need to. Tramming could potentially get frustrating. It’s easy to move the mount too far, then move it back too far. The tramming plates I made and installed on my Z box helped me out a lot when it came time to adjust the tilt. Just remember to take your time. It’s not a race. The point is accuracy, so walk away from it for a while if you need to.
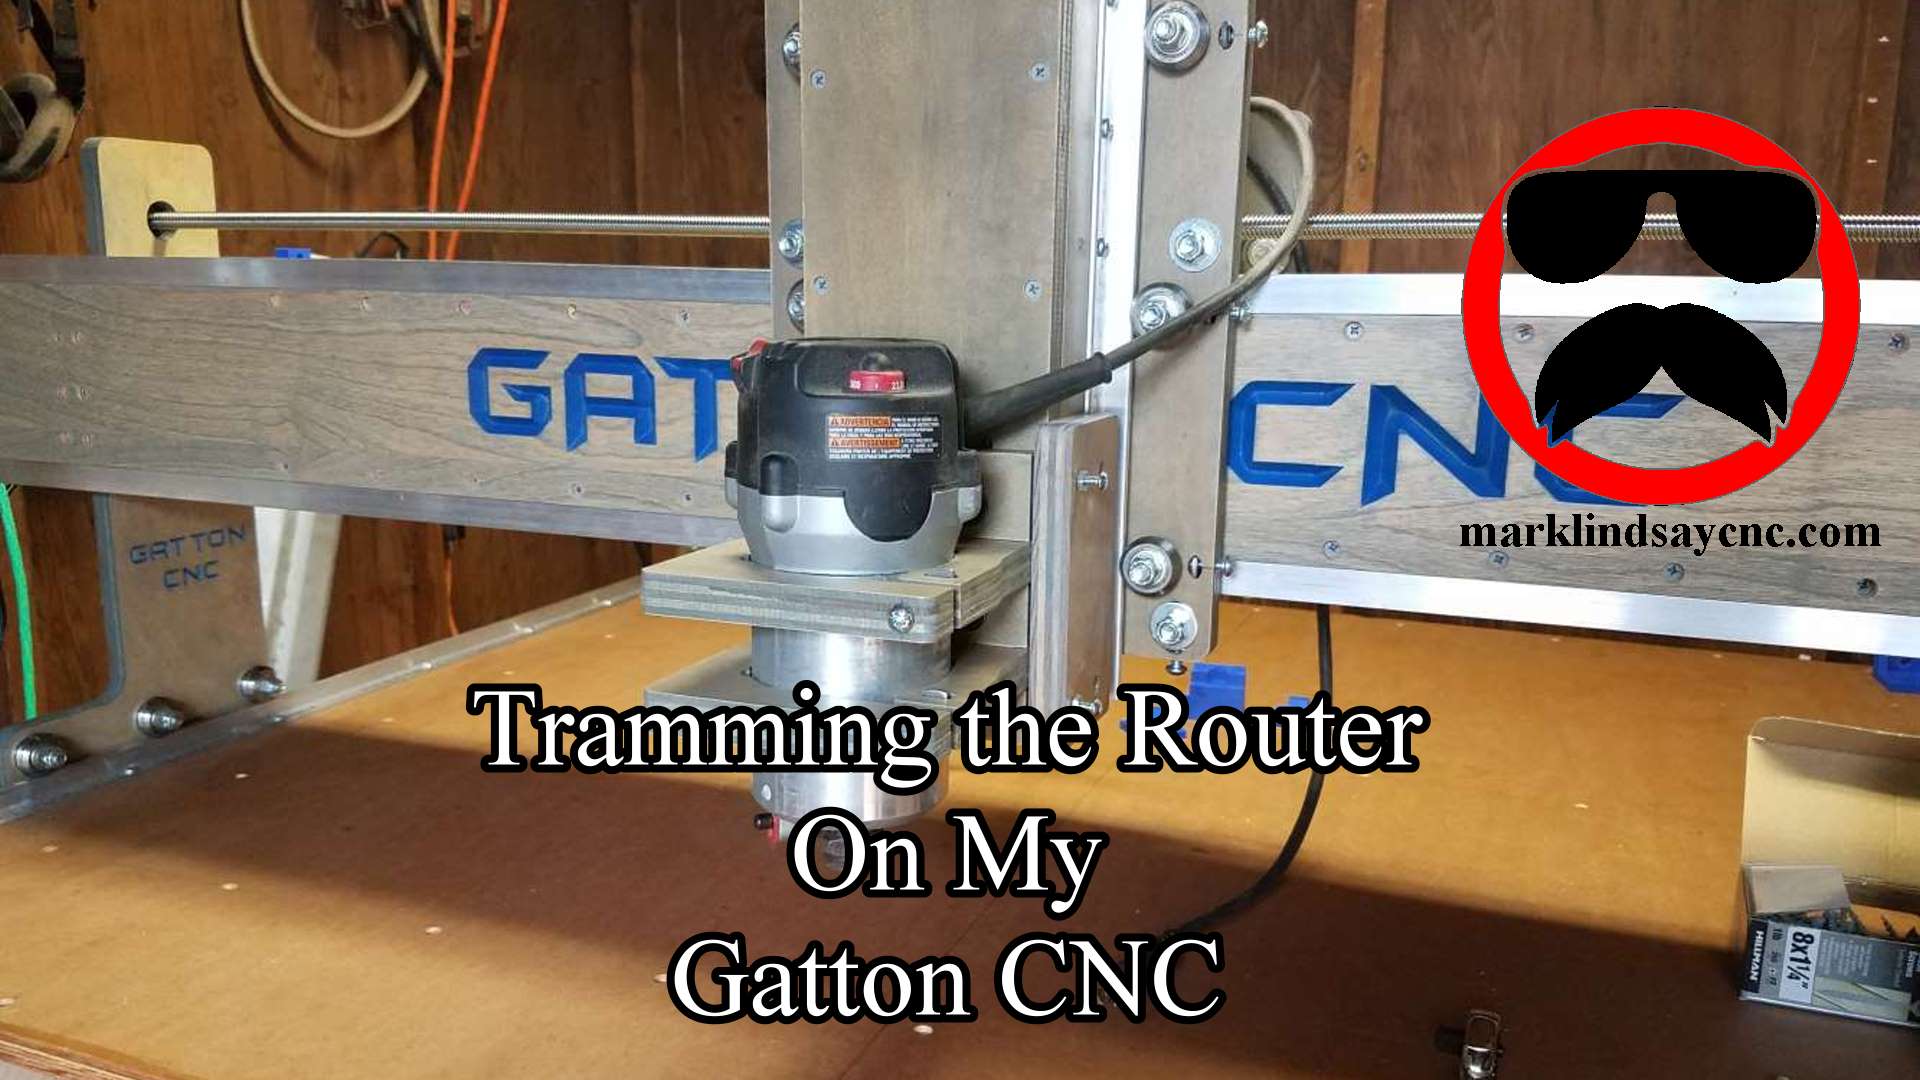
Follow along in the video to see the steps I took to tram the router on my Gatton CNC.
Here are some links to the tools I used to tram the router in my Gatton CNC:
As usual, if you have a question or comment, leave it in the comments section below. Or, if you’d prefer, go over to the Contact Us page and submit it to me there.
Until next time, take care and have fun!
[amazon_link asins=‘B01H54ULSO,B000A804DA,B000ALY4E2,B000CD1T0A,B0000DCBK0,B00005QEVQ,B000C02BXW,B0002YQ3KA,B0000225XE,B019G0VVTI’ template=’MarksProductCarousel’ store=’malicn-20′ marketplace=’US’ link_id=’c93193d8-c7ef-11e7-97ad-090db65faaa6′]
[/expand]
This is very helpful and detailed!
Thank you very much! Hopefully it helps folks get their routers cutting nice and smooth.